
3 Steps to configure the Gluu Server as a SAML IDP for SSOC
This article will guide you through the process of a Service Provider (SP) initiated SAML flow for single sign-on (SSO) using Gluu as the Identity Provider (IDP). We will be using a locally run Flask application as the SP, which is the python3-saml library’s Flask demo application. This was tested on Gluu Server 4.4.Introduction
When dealing with Single Sign On using SAML, the application or website that the client uses to access protected resources is called the SP (Service Provider). On the other hand, the server that authenticates the client and grants access to protected resources is called the IDP (Identity Provider). In an SP initiated flow, the SP sends a SAML authentication request to the IDP using preestablished configurations. The browser then initiates an OpenID connect code flow with the IDP and prompts the user for login. Upon verifying credentials, the IDP returns a SAML assertion with the attributes released for the user.Requirements
- Python3
- Pip3
- Gluu Solo installation with the Shibboleth SAML IDP and Passport installed and enabled.
Preparations
- Create a virtual environment in Python:
python -m venv venv - And activate it:
source venv/bin/activate - Install dependencies:
pip install flask python3-saml - Clone the OneLogin Python3 repository:
git clone https://github.com/onelogin/python3-saml.git - And cd to the Flask demo folder:
cd python3-saml/demo-flask
Configuring the Flask application
Theindex.py file in this folder is the Flask application that we will be using to demonstrate the SP initiated flow. For the test, I will rename it to app.py so that we can directly execute Flask from the command line. Inside the saml/ folder, there is a file called settings.json that will contain the majority of the settings for the application. This file is in the JSON format, with two distinct dictionary objects: sp and idp. These contain the corresponding settings for the SP and the IDP. For the SP, since we are running Flask on our local machine, we will want to replace the hostname with our localhost. Since Flask runs on port 5000 by default, we replace every instance of <sp_domain> with https://localhost:5000.
Once you’re done editing the SP section, for the IDP section, we can use a Metadata XML exchange. Python3-saml contains a class that can parse and update settings dynamically from a remote XML file. The code is as follows, which should be executed in the same directory as the settings.json file:
from onelogin.saml2.idp_metadata_parser import OneLogin_Saml2_IdPMetadataParser
import json

HOSTNAME = "http://<your hostname>/idp/shibboleth"

with open("settings.json", "r") as f:
    old = json.loads(f.read())

remote = OneLogin_Saml2_IdPMetadataParser.parse_remote(HOSTNAME, validate_cert=False)
newSettings = OneLogin_Saml2_IdPMetadataParser.merge_settings(old, remote)

with open("settings.json", "w") as f:
    f.write(json.dumps(newSettings, indent=4))
validate_cert=False because my Gluu server was using a self-signed certificate and so didn’t support HTTPS. This will overwrite the old settings.json file, so be sure to make a backup if you want. Finally, you will want to edit the "NameIdFormat" key value to "urn:oasis:names:tc:SAML:2.0:nameid-format:transient". This is to ensure our SAML requests are using a NameID format known to the Gluu server. After the edits, our settings.json looks like this:
{
    "strict": true,
    "debug": true,
    "sp": {
        "entityId": "https://localhost:5000/metadata/",
        "assertionConsumerService": {
            "url": "https://localhost:5000/?acs",
            "binding": "urn:oasis:names:tc:SAML:2.0:bindings:HTTP-POST"
        },
        "singleLogoutService": {
            "url": "https://localhost:5000/?sls",
            "binding": "urn:oasis:names:tc:SAML:2.0:bindings:HTTP-Redirect"
        },
        "NameIDFormat": "urn:oasis:names:tc:SAML:2.0:nameid-format:transient",
        "x509cert": "",
        "privateKey": ""
    },
    "idp": {
        "entityId": "https://<hostname>/idp/shibboleth",
        "singleSignOnService": {
            "url": "https://<hostname>/idp/profile/SAML2/Redirect/SSO",
            "binding": "urn:oasis:names:tc:SAML:2.0:bindings:HTTP-Redirect"
        },
        "singleLogoutService": {
            "url": "https://<hostname>/idp/profile/SAML2/Redirect/SLO",
            "binding": "urn:oasis:names:tc:SAML:2.0:bindings:HTTP-Redirect"
        },
        "x509certMulti": {
            "signing": [
                "MIID...vg=="
            ],
            "encryption": [
                "MIID...dw=="
            ]
        }
    }
}
demo-flask/saml/advanced-settings.json. However, the metadata file expires in 2 days by default. If you don’t want to keep regenerating it you can add this key-value pair to this file:
{
    "security": {
        // ...
        // Replace with an appropriate timestamp e.g. "2015-01-01T20:00:00Z"
        "metadataValidUntil": null
        //...
    }
}
demo-flask/saml/certs and run the following command:
openssl req -new -x509 -days 3652 -nodes -out sp.crt -keyout sp.key
Adding a trust relationship in Gluu Server
For the next step, we will need to obtain the Flask application’s metadata XML file. In thedemo-flask folder, execute flask run --cert=saml/certs/sp.crt --key=saml/certs/sp.key. This should load the settings file and start the Flask application. Navigate to https://localhost:5000 on your web browser and you should see the following screen: 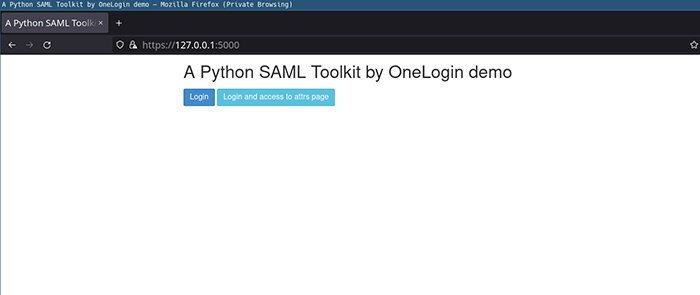
Now, navigate to
https://localhost:5000/metadata/ and you should see an XML file. Save it to your local storage. Then, log on to your Gluu server’s oxTrust GUI and navigate to SAML > Add Trust Relationships. Use the following details:
Display Name: choose an appropriate nameDescription: any descriptionEntity type: Single SPMetadata Location: FileSp Metadata File: The file you just downloaded from the Flask applicationSP Logout URL: leave as blank- Click on the check mark next to
Configure Relying Partyand click on the button that shows up.- Under
Available Profile Configurations, click onSAML2SSOand click Add. - A new menu named
SAML2 SSO Profilewill show up. Click on it to expand. assertionLifetime: 300000signResponses: alwayssignAssertions: neversignRequests: conditionalencryptAssertions: alwaysencryptNameIds: alwaysDefault Authn Methods:urn:oasis:names:tc:SAML:2.0:ac:classes:PasswordIncludeAttributeStatement: YesSupport Unspecified NameIdFormat?: Yes- Under Available NameID Formats, select
SAML:2.0:nameid-format:transientand click add - Click Save
- Under
- Now you need to release additional attributes from the right hand side pane. Click on an attribute to release it to the SP. For this example we will release Email and TransientID. It’s always a good idea to release TransientID, because the Gluu server will use it as the default NameID. This is a session identifier and does not release any personal information about the subject.
- Finally, click
Addand thenActivate. It will take a few minutes for Shibboleth to load your new trust relationship, so please wait.
Testing SP initiated flow
With everything set up, start the Flask application and navigate tohttps://localhost:5000. You should see the login screen as mentioned before. Click on Login and you should be redirected to your Gluu server’s oxAuth login page. 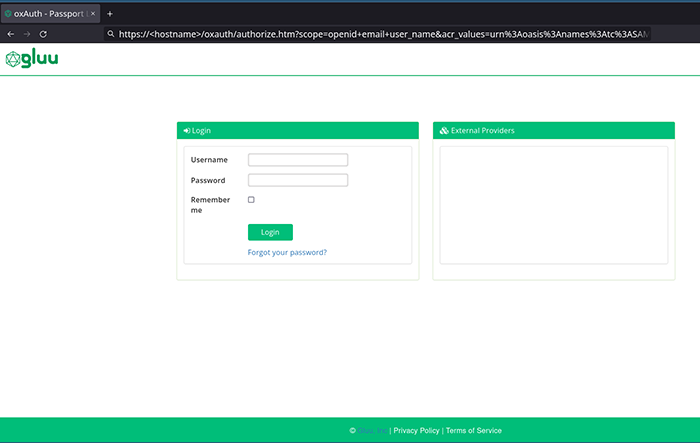
Now you can log in with your Gluu server user credentials. If everything runs okay, you will be redirected back to the Flask application which will display the attributes you released.

Debugging
Working with SAML can be a tedious process if something goes wrong. In case things don’t work, there are a few steps you can take to try to diagnose the issue:- Check the Shibboleth IDP logs at
/opt/shibboleth-idp/logs/idp-process.logof your Gluu chroot container. - Use your browser to intercept SAML requests. This is only useful if your SAML requests are unencrypted; however, you can sometimes get an idea of what is happening by looking at the GET and POST request headers and responses and decoding them from Base64.
Profile Action AddNameIDToSubjects: Request specified use of an unsupportable identifier format: urn:mace:shibboleth:1.0:nameIdentifier. This led me to being able to changing the NameID format in settings.json which solved the issue.