
It’s a modern axiom that passwords are bad. But there are still many deployment challenges for organizations to rollout two-factor authentication, such as requiring end users to purchase hardware or install a special app on their smart phone. tru.ID has developed a technology that enables organizations to verify that a data connection associated with a SIM card is associated with the person’s phone number. The advantage of this strategy is that nothing special is needed by the end user. They can use their mobile web browser and any QR scanner, now built-in to most camera apps. In order for this to work, the end user may have to switch-off their Wi-Fi–tru.ID needs a data connection from the telco.
For customers who may be implementing Gluu within a mobile app, the experience can be made smoother by triggering a Push notification to the mobile app, which can then trigger the same check over a data connection. The advantage of this approach is that within a native or hybrid mobile app, the app developer can use the cellular data network interface for triggering the check, ensuring the technology works even on devices connected to both Wi-Fi and Cellular data. tru.ID provides a wide variety of SDKs to cater to such use-cases.
This article will demonstrate how to use tru.ID with Gluu Server CE 4.4.1, your favorite open-source digital identity platform. In our sample flow, the first factor (something you know) is username/password. The second factor (something you have) is obtained via tru.ID’s PhoneCheck API, which verifies possession of the SIM card associated with the phone number.
In our demo setup, we are using a sample oidc-bridge provided by tru.ID, which runs as a separate service/container. The role of this service is to take a phone number from a Gluu identity, and trigger a phone check using your method of choice (QR-code or Mobile App). Note that if no phone number is available, the action will simply fail.
The sequence diagram for the flow is as follows:
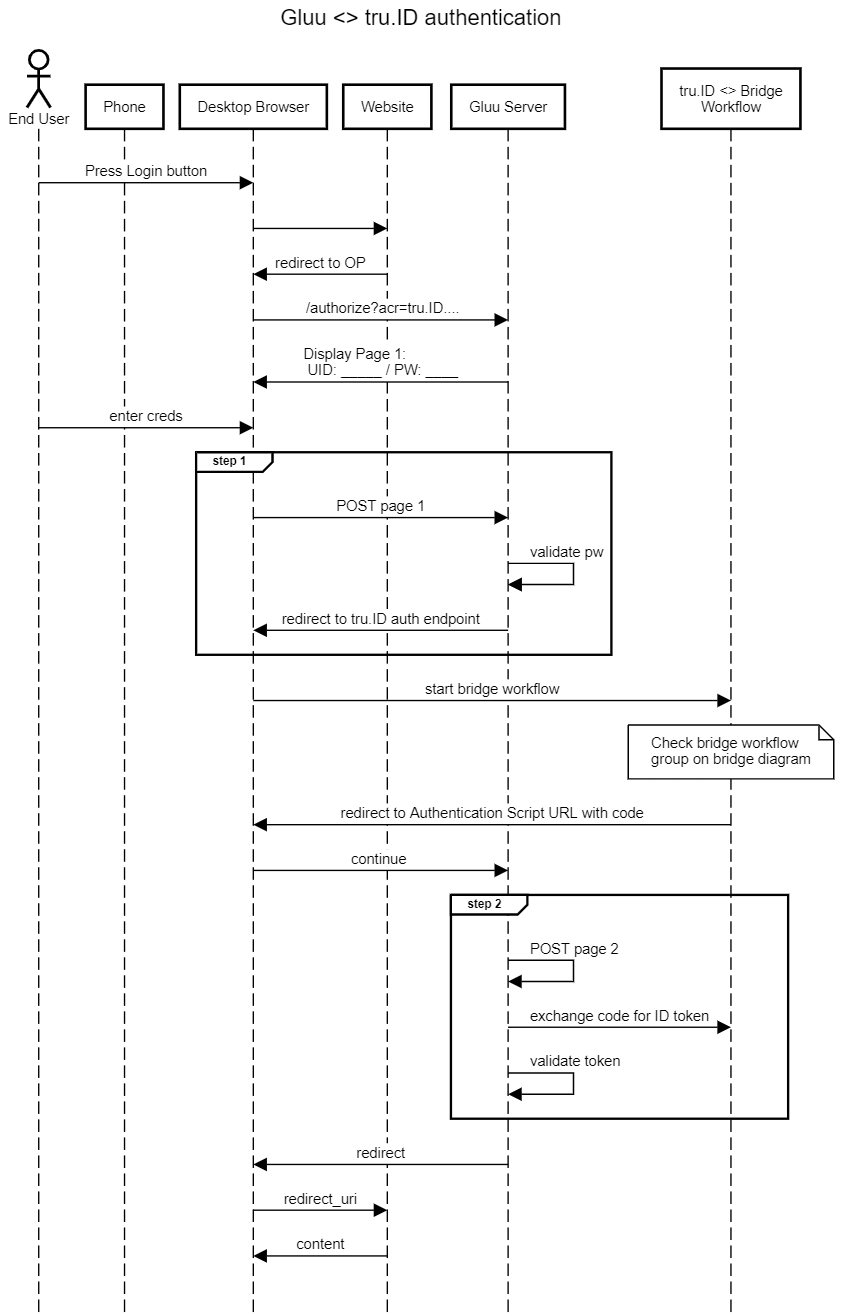
Authentication Flow:
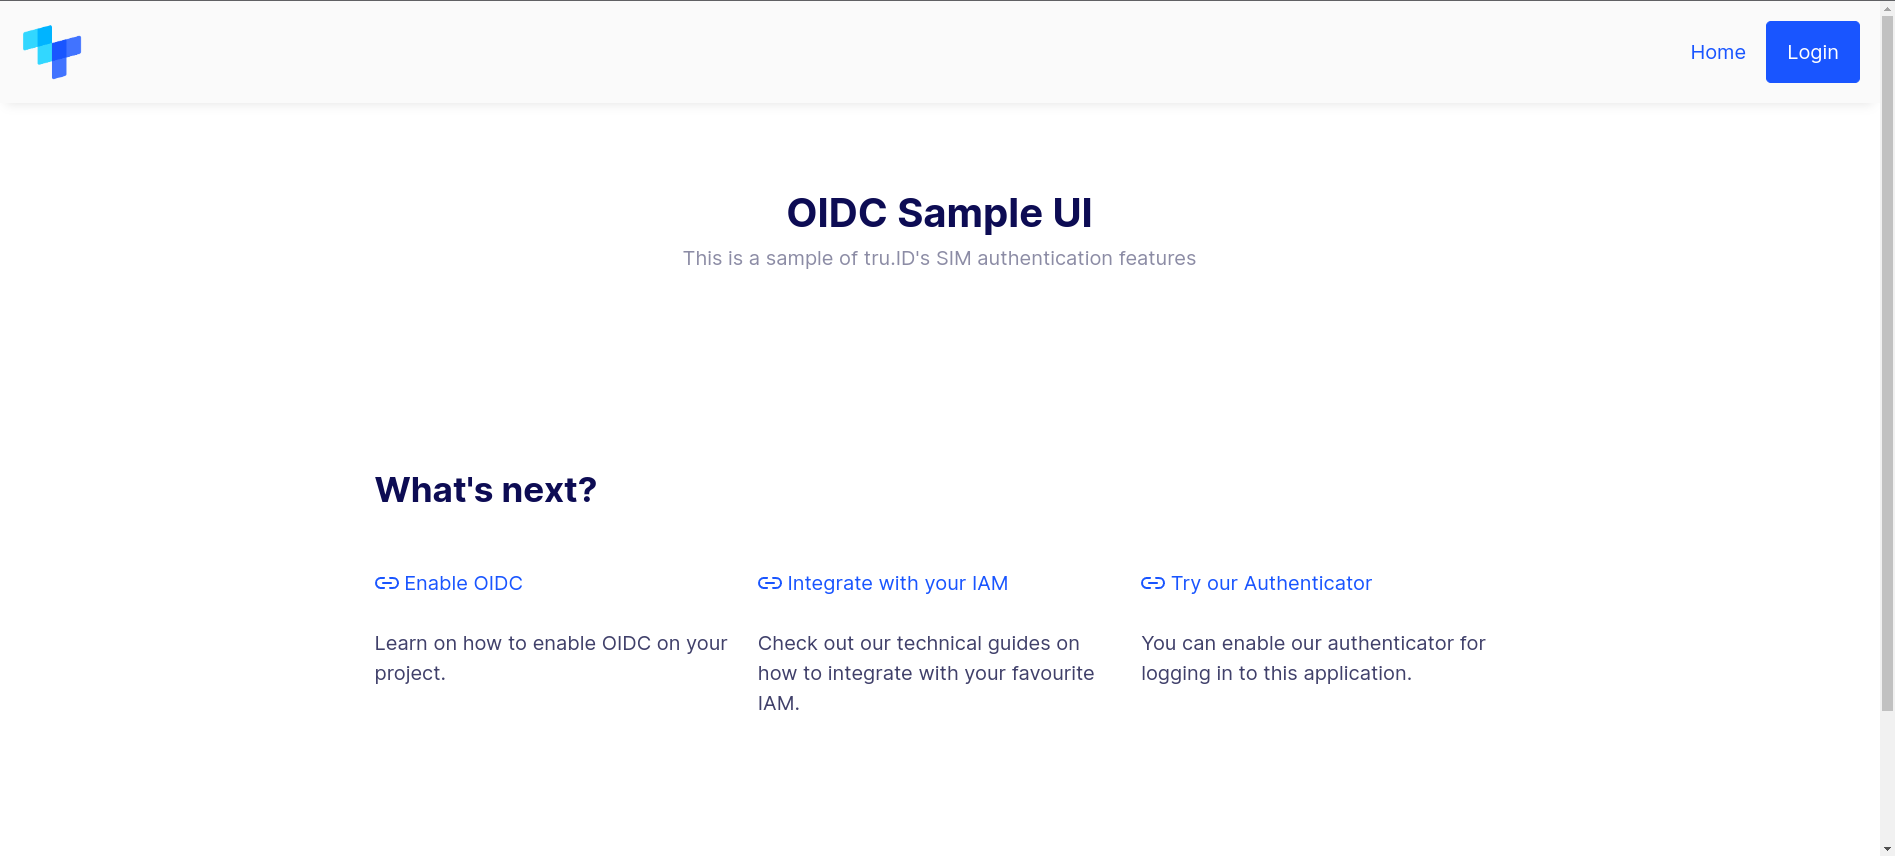
- The user navigates to the sample application and clicks
Login.
- Then user’s browser is redirected to the Gluu Server
/authorizeendpoint as you’d expect in an OpenID Connect code flow.

- After authentication, they are redirected back to the application, where the call to the PhoneCheck API is made. Another option is to call the PhoneCheck API in step 2 of the Gluu Server interception script. We may provide this later…stay tuned.
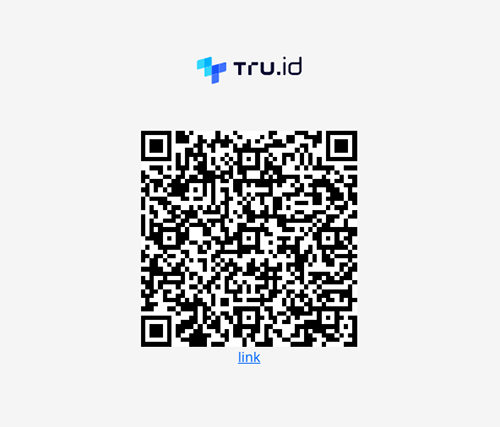
- The end user scans a QR code displayed by the demo application:
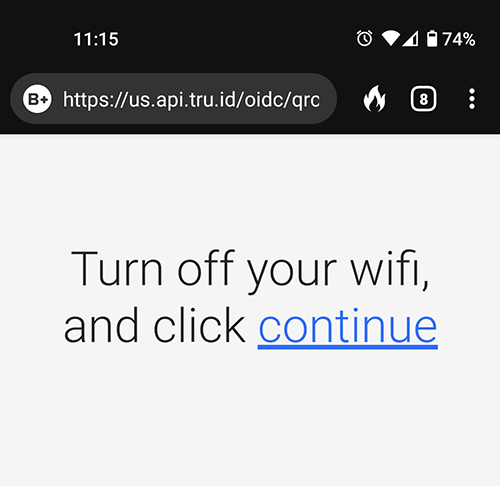
- On the phone, the QR code resolves to a URL. The end user may be asked to turn off Wi-Fi for network verification.
- Then they are shown a consent screen to allow verification for the web application.
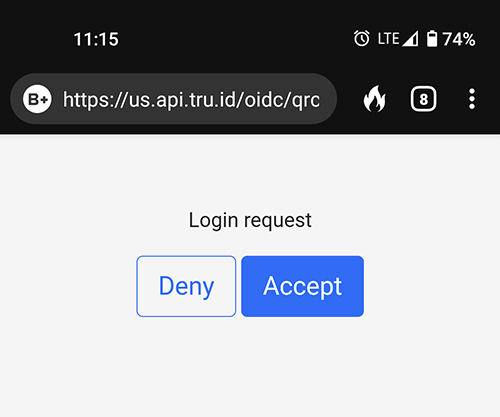
- Upon allowing access on the phone, the browser logs in to the application.
How to setup:
tru.ID already has a detailed guide on how to set up integration with Gluu Server, with theiroidc-bridge sample application as the example.