
Rancher Marketplace
tags:
- administration
- installation
- helm
- rancher
This guide covers installing Flex through the Rancher Marketplace.
#Install Rancher
For a stable, production-ready environment that natively supports Persistent Volumes (PVs), install Rancher on a dedicated Kubernetes cluster using Helm. Follow the official Rancher Helm Installation Guide.
#Install Flex
#1. Install Database
You have two options for setting up your backend database depending on your infrastructure's capabilities.
#Option A: Install via Kubernetes (Requires PV Support)
Open a kubectl shell from the top right navigation menu >_ and run:
wget https://raw.githubusercontent.com/GluuFederation/flex/nightly/automation/mysql.yaml
kubectl apply -f mysql.yaml # adjust values as preferredwget https://raw.githubusercontent.com/GluuFederation/flex/nightly/automation/pgsql.yaml
kubectl apply -f pgsql.yaml # adjust values as preferred#Option B: Install on VM (Docker/No PV Support)
Use this option if you are running a single-node Docker test environment or lack PV support. You can install the database package(MySQL/PostgreSQL) directly on your Linux VM.
#2. Configure Ingress and Traffic Management
Follow this guide to choose between the modern Gateway API (recommended) or the legacy Kubernetes Ingress.
#3. Install Gluu Flex
- Head to
Apps-->Chartsand search forGluu - Click on
Installon the right side of the window. - Change the namespace from
defaulttogluu, then click onNext. - Scroll through the sections to get familiar with the options. For minimal setup follow with the next instructions.
- Add
License SSA. Before initiating the setup, please obtain an SSA for Flex trial, after which you will be issued a JWT. - Click on the
Persistencesection. SetSQL database host uri,SQL database username,SQL password, andSQL database nameto the values you used during the database installation. - To enable Casa and the Admin UI, navigate to the
Optional Servicessection and check theEnable casaandboolean flag to enable admin UIboxes. - Click on the section named
Ingressand enable all the endpoints. You might add LB IP or address if you don't haveFQDNforGluu. - To pass your
FQDNthat is intended to serve the Gluu Flex IDP, head to theConfigurationsection:- Add your
FQDNand check the boxIs the FQDN globally resolvableif it's DNS registered. - Click on the
Edit YAMLtab and add yourFQDNtonginx-ingress.ingress.hostsandnginx-ingress.ingress.tls.hosts.
- Add your
- Click on
Installon the bottom right of the window.
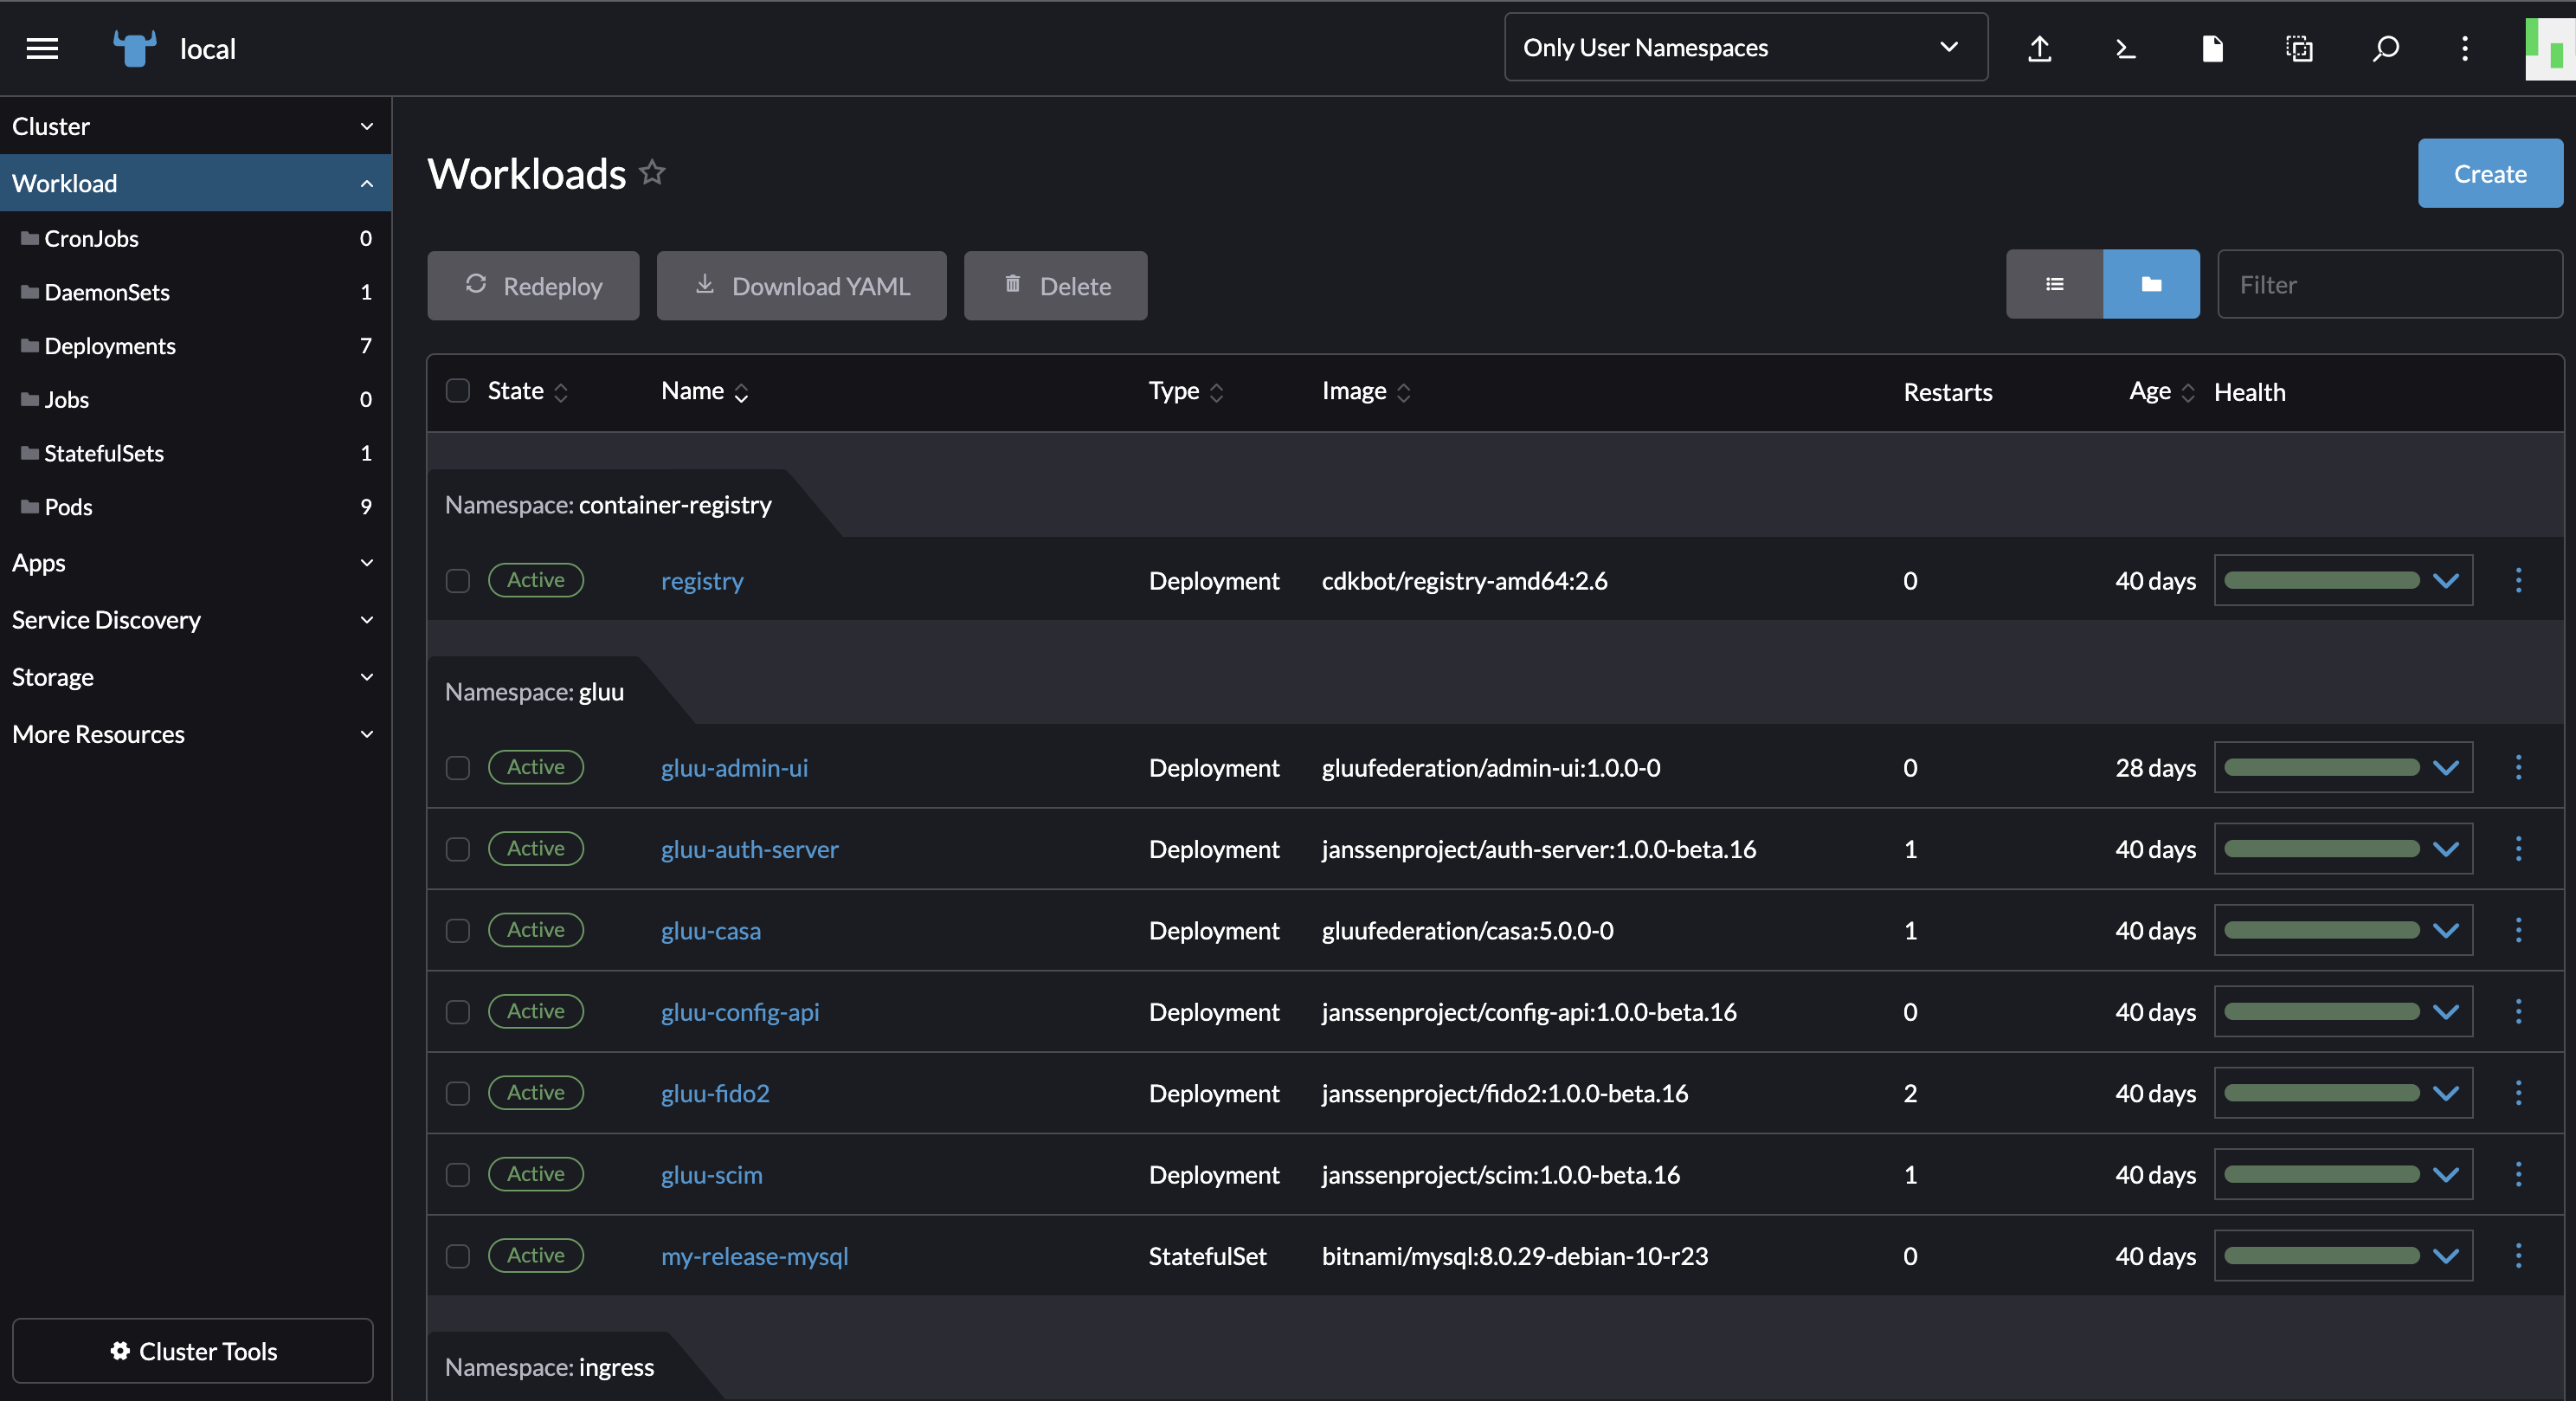
The running deployment and services of different Gluu Flex components like casa, admin-ui, scim, auth-server, etc can be viewed by navigating through the SUSE Rancher. Go to Workloads and see the running pods. Go under Service Discovery and checkout the Ingresses and Services. All deployed components should be in a healthy and running state like in the screenshot shown below.
#Next Steps
When installing via Rancher Marketplace, the Ingress, Database, and Helm install steps are handled through the Rancher UI during chart installation. Skip directly to the post-install section.