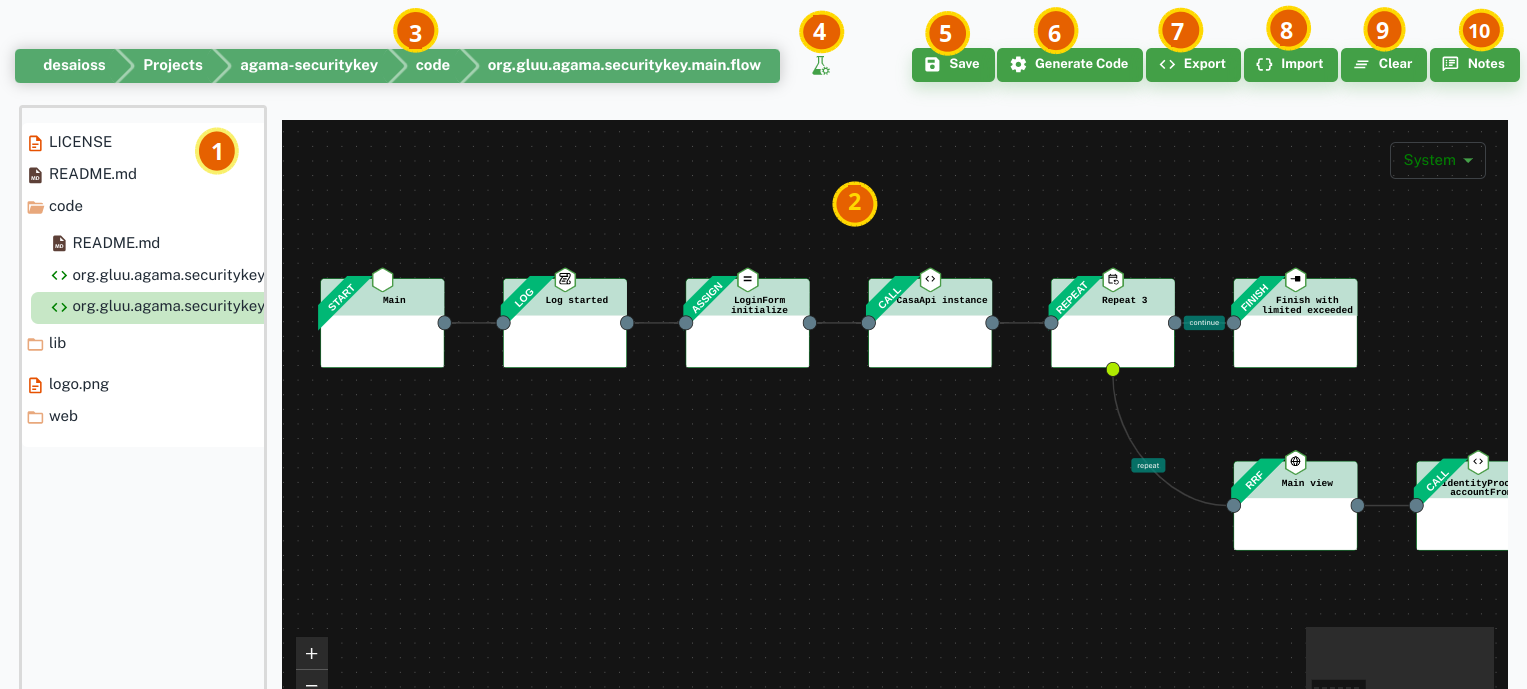
Project editor is the development tool to write authentication flows. It has a low-code editor that can be used to drag and drop the code blocks and the actual Agama code gets generated in the background. Major components of the project editor are noted below:

Project explorer: Left hand panel shows all the artifacts in the project in a structured view.Flow editor: Right hand side pane is the low-code editor to design the flow using different flow components like assignment, log, RRF, trigger, etc.- Path of the artifact being edited
- Test deployment button
- Save the modifications to the project in the GitHub repository
- Generate Agama code from the flow in the flow editor
Export: Exports a zip archive containing.flowcode file and.jsonconfiguration file for the flowImport: Allows to import an existing flowClear: Removes all the flow components from the current flow. This operation is not reversible.Notes: Add sticky notes style notes to the flow to annotate different areas and flow components for better understanding of the flow
Working With The Flow Editor
When a flow (aka a .flow) file is opened using the left navigation, the project editor presents a visual rendering of the flow using the flow editor. You can add nodes, remove nodes, edit configuration values of the nodes using the flow editor.
Creating A Node
A new node can be created from an existing node. Drag the colored dot at the edge of an existing node. Releasing the mouse button will present a pop-up menu. You can choose what type of next node that you want to create.
Node Context Menu
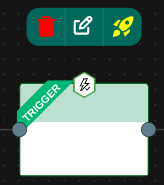
Click on the node pops-up the node context menu as shown below. use the node content menu to edit the node configuration, delete the node or open the flow related to the node.

Non-linear Flow
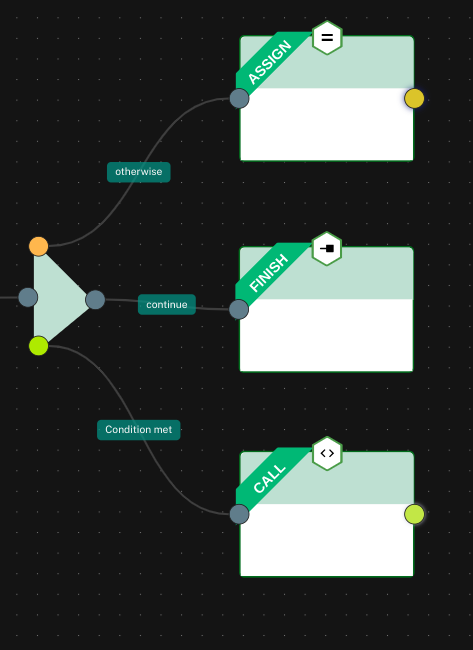
Nodes like the When node have multiple possible next nodes based on condition evaluating to True or False. You can define these alternative execution paths by dragging colored dots on each vertice.


