Advanced Admin GUI Components and Configuration#
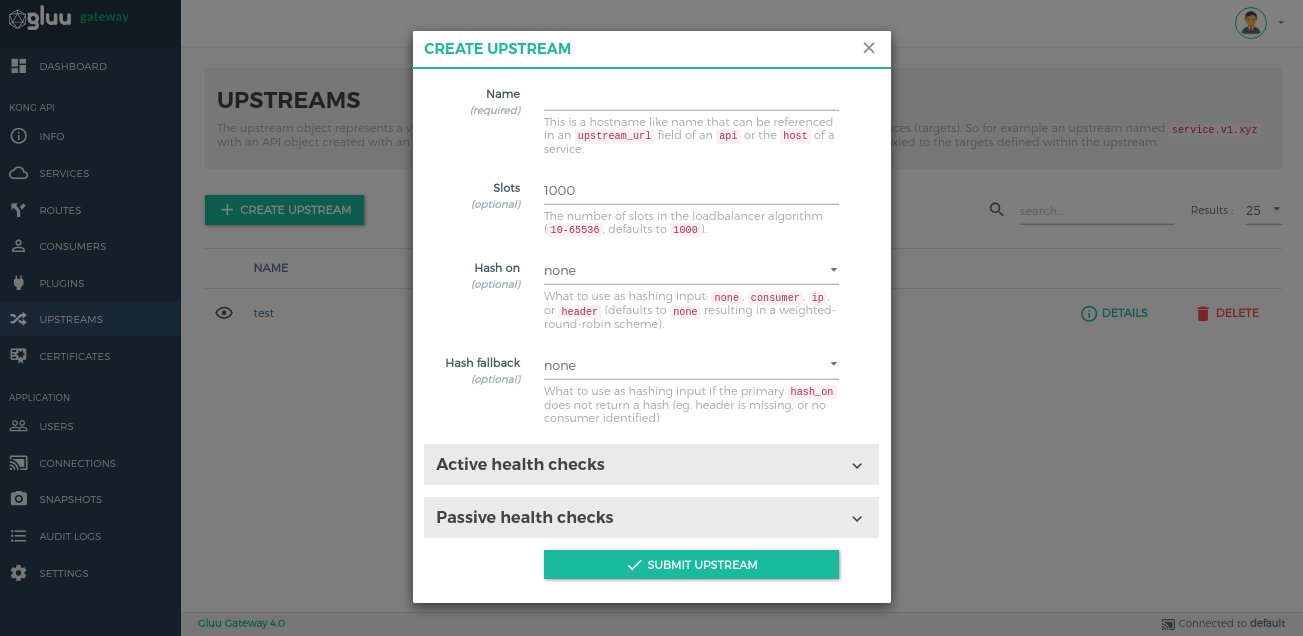
Upstreams#
The upstream object represents a virtual hostname and can be used to loadbalance incoming requests over multiple services (targets). For example, an upstream with the name service.v1.xyz loadbalances requests for a Service object whose host is service.v1.xyz. Requests for this Service would be proxied to the targets defined within the upstream.
Check Kong load balancing and health-check docs for more details.
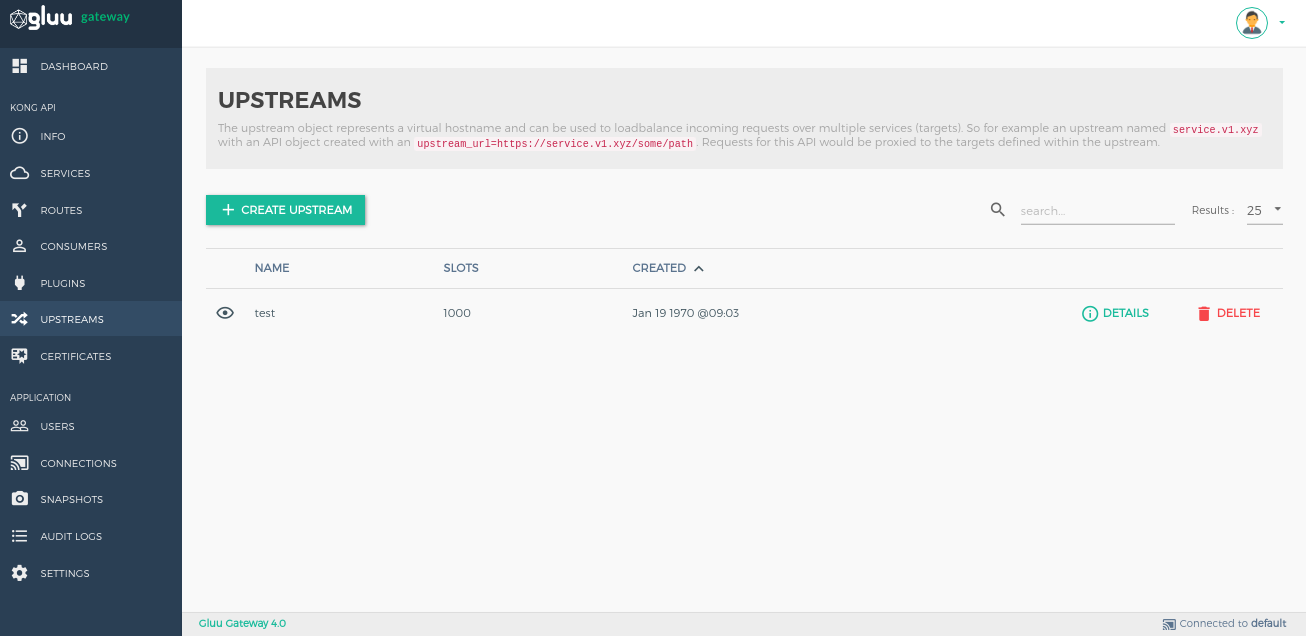
Add Upstreams by using the + CREATE UPSTREAM button.
You can modify the details of an Upstream by clicking the DETAILS button next to its name.
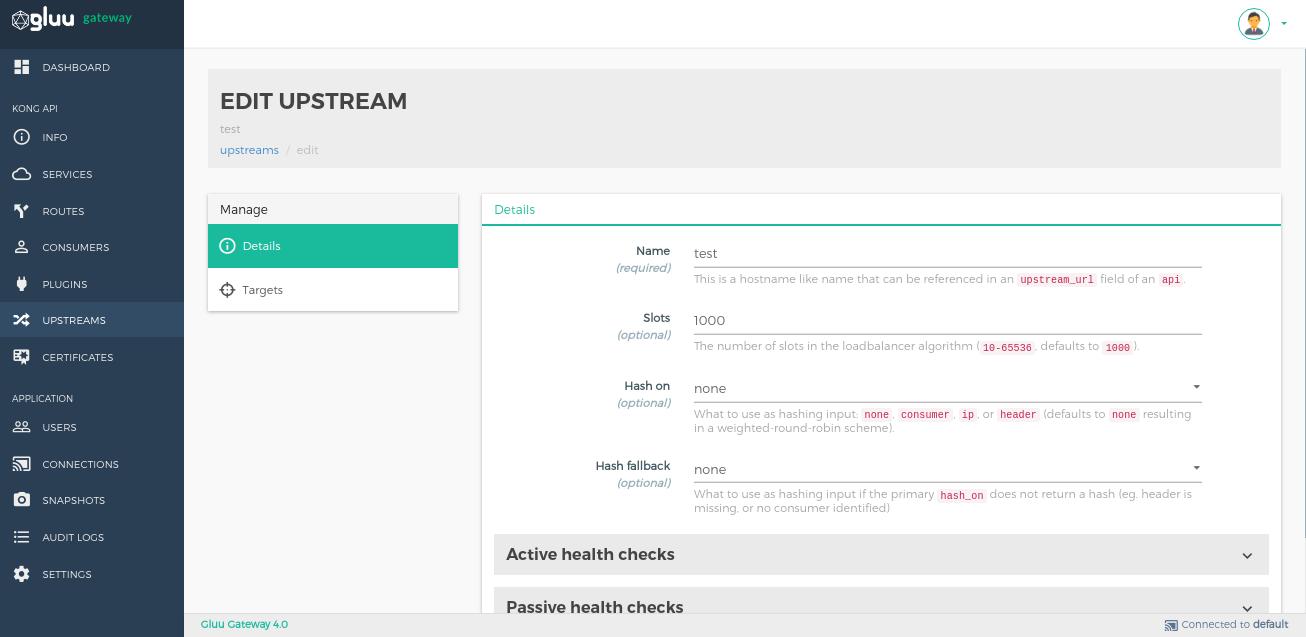
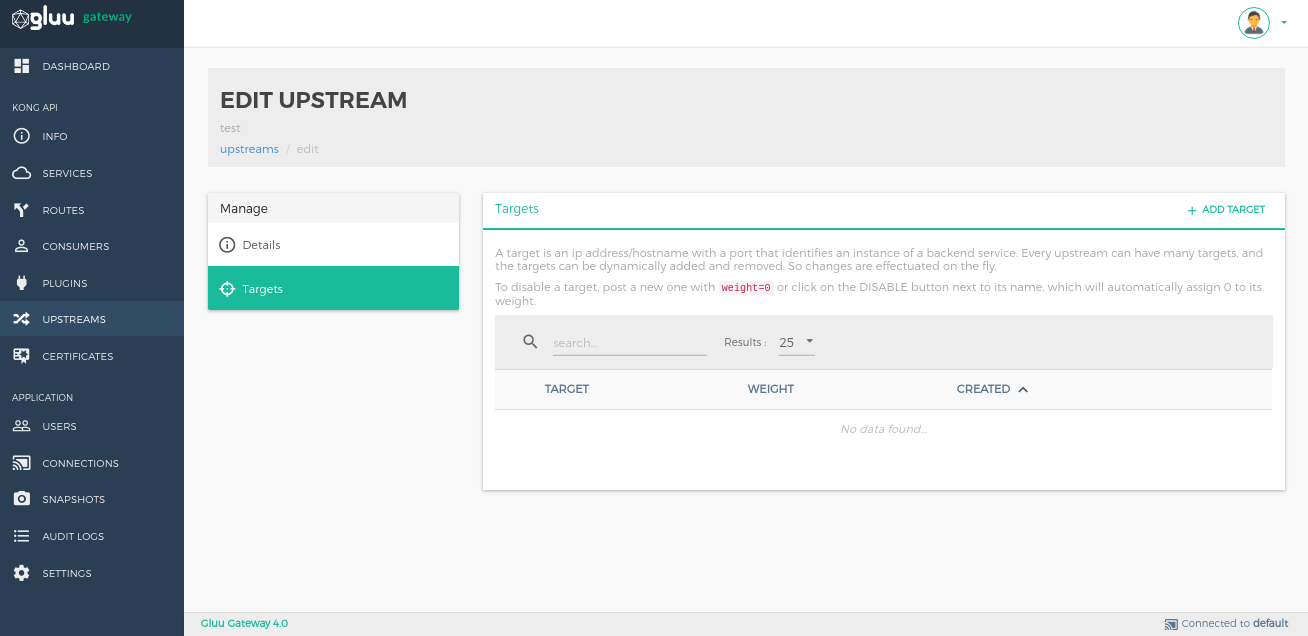
The Targets section is for managing targets. A target is an IP address/hostname with a port that identifies an instance of a backend service. Every upstream can have many targets, and the targets can be dynamically added. Changes are implemented on the fly.
Certificates#
A Certificate object represents a public certificate/private key pair for an SSL certificate. These objects are used by Kong to handle SSL/TLS termination for encrypted requests. Certificates are optionally associated with SNI objects to tie a certificate/key pair to one or more hostnames.
Check Kong certificate configuration docs for more details.
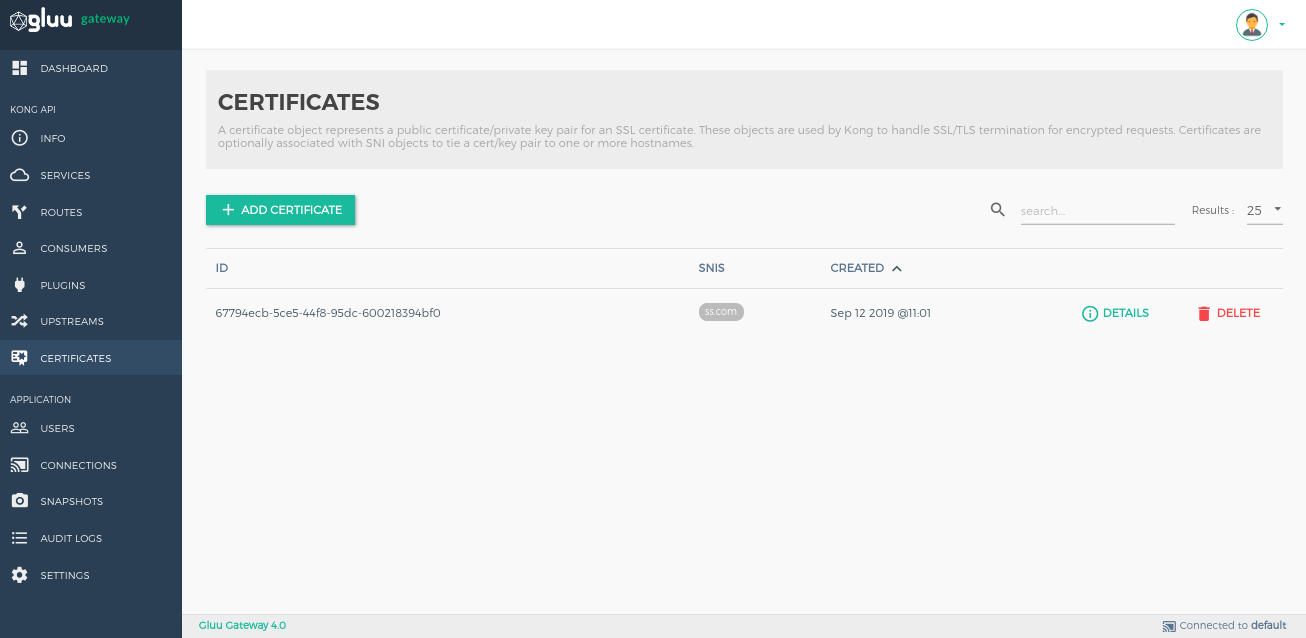
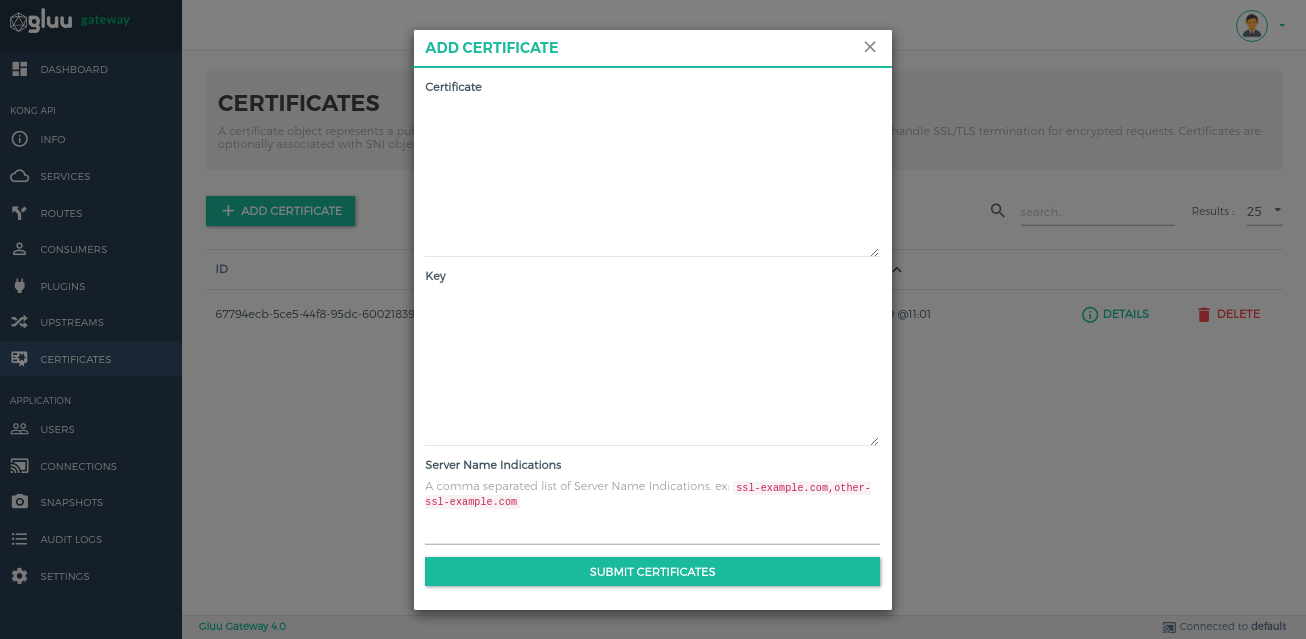
Add Certificates by using the + CREATE CERTIFICATE button.
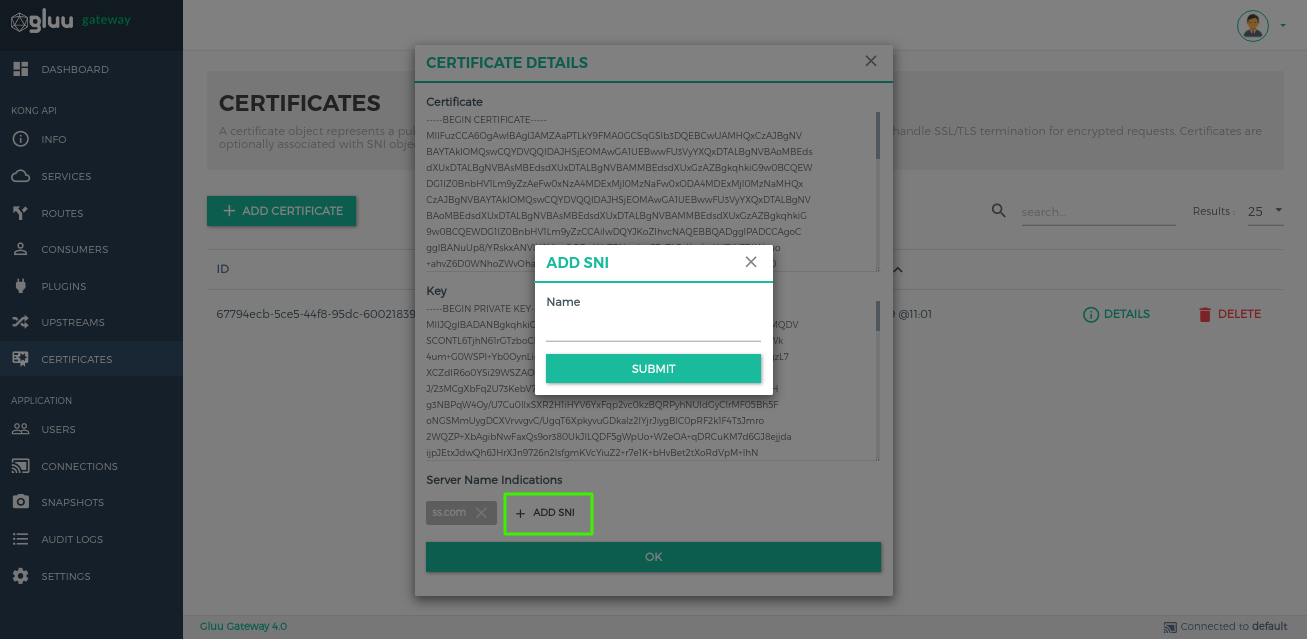
Add SNI.
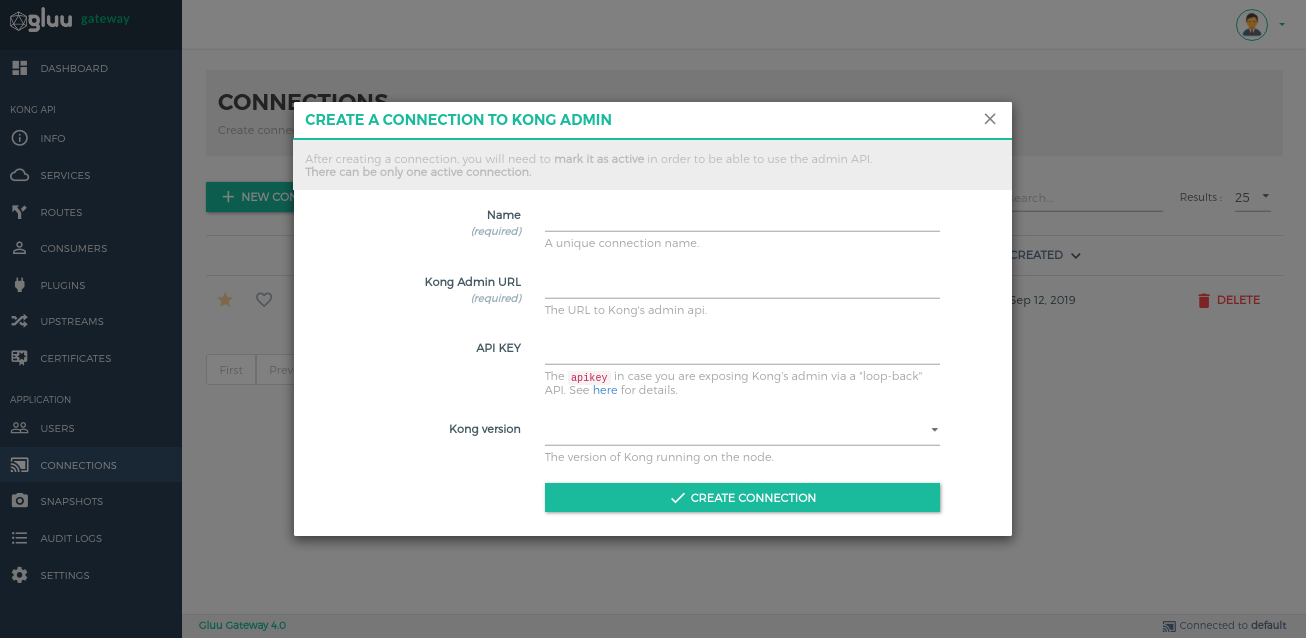
Connections#
Create connections to Kong nodes and select the one to use by clicking on the respective star icon.
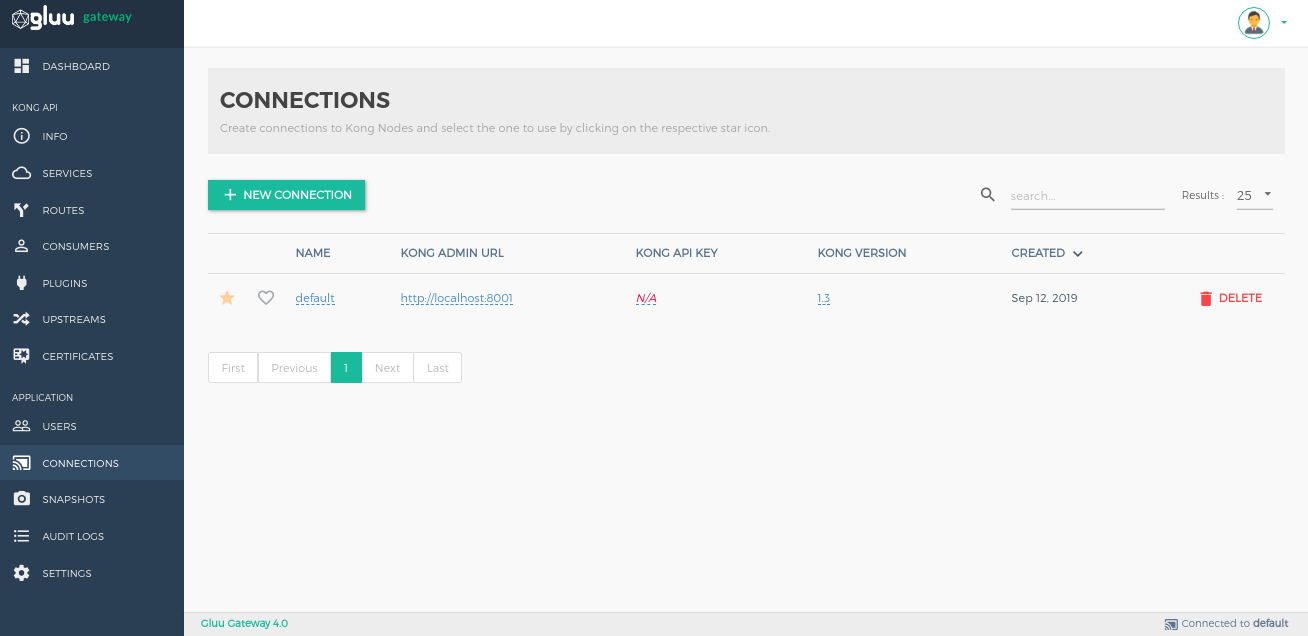
Add Connections by using the + NEW CONNECTION button.
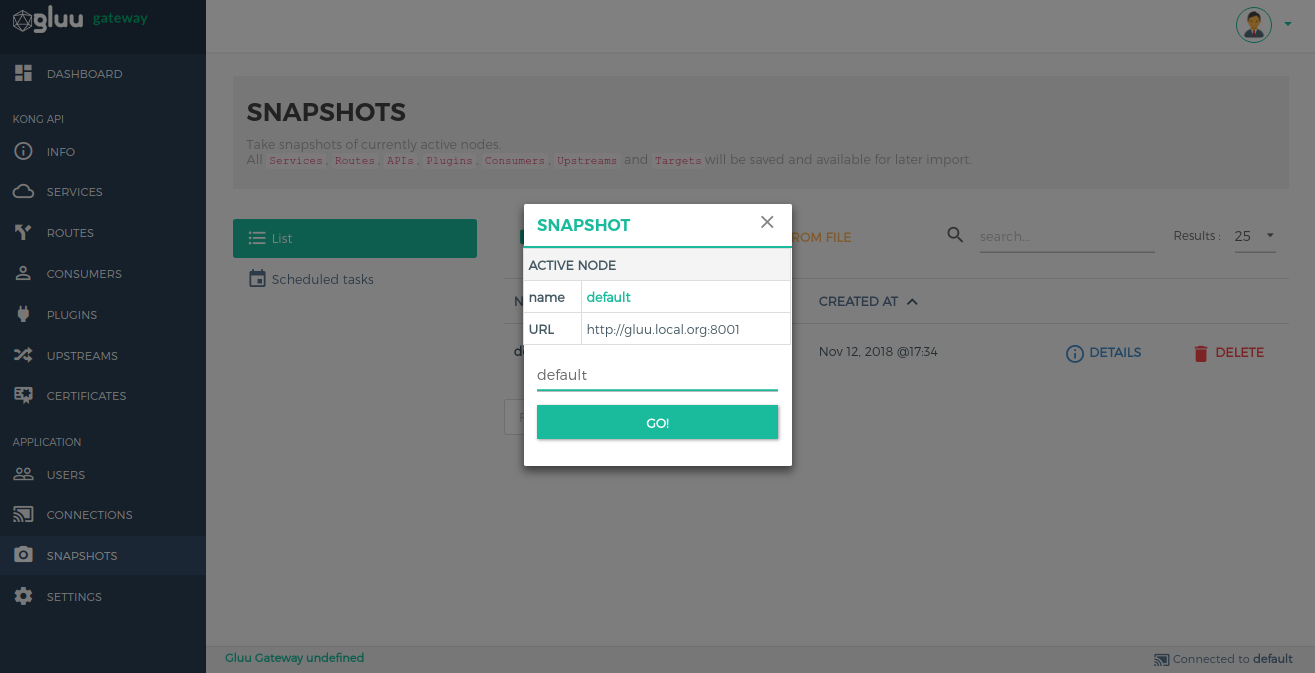
Snapshots#
Take snapshots of currently active nodes. All services, routes, plugins, consumers, upstreams and targets will be saved and available for later import.
List#
It shows the list of snapshots.
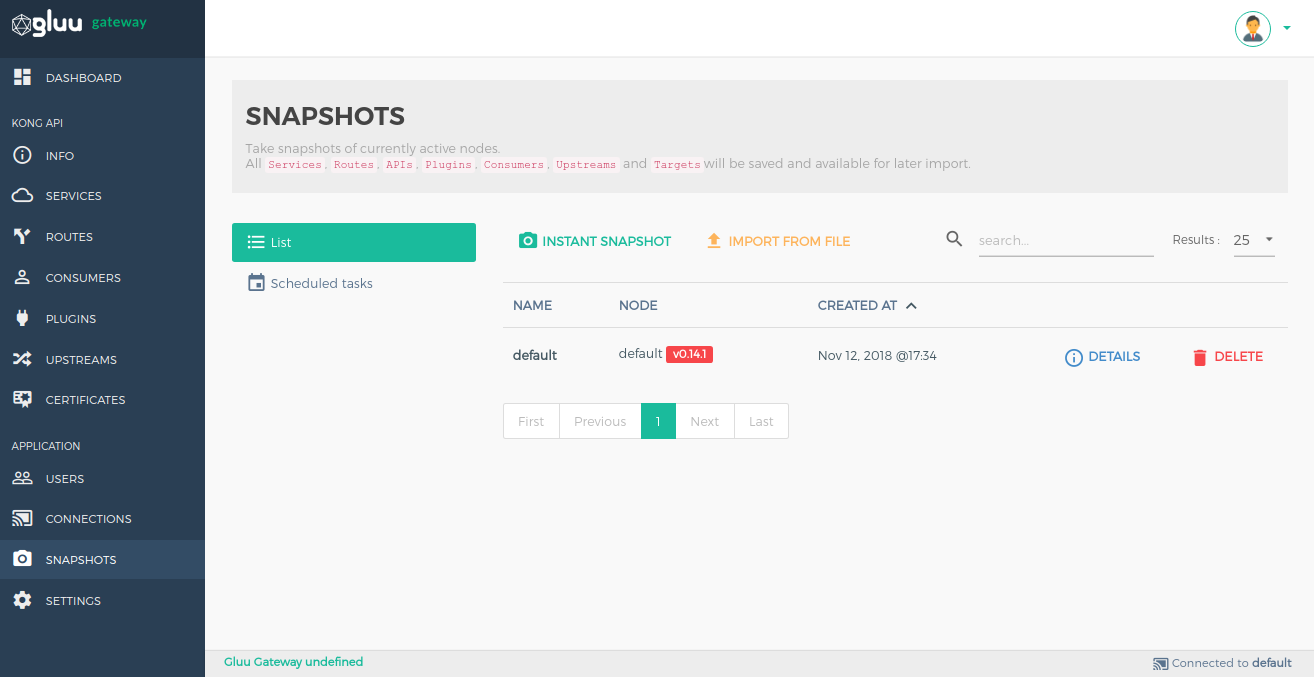
Take Snapshot#
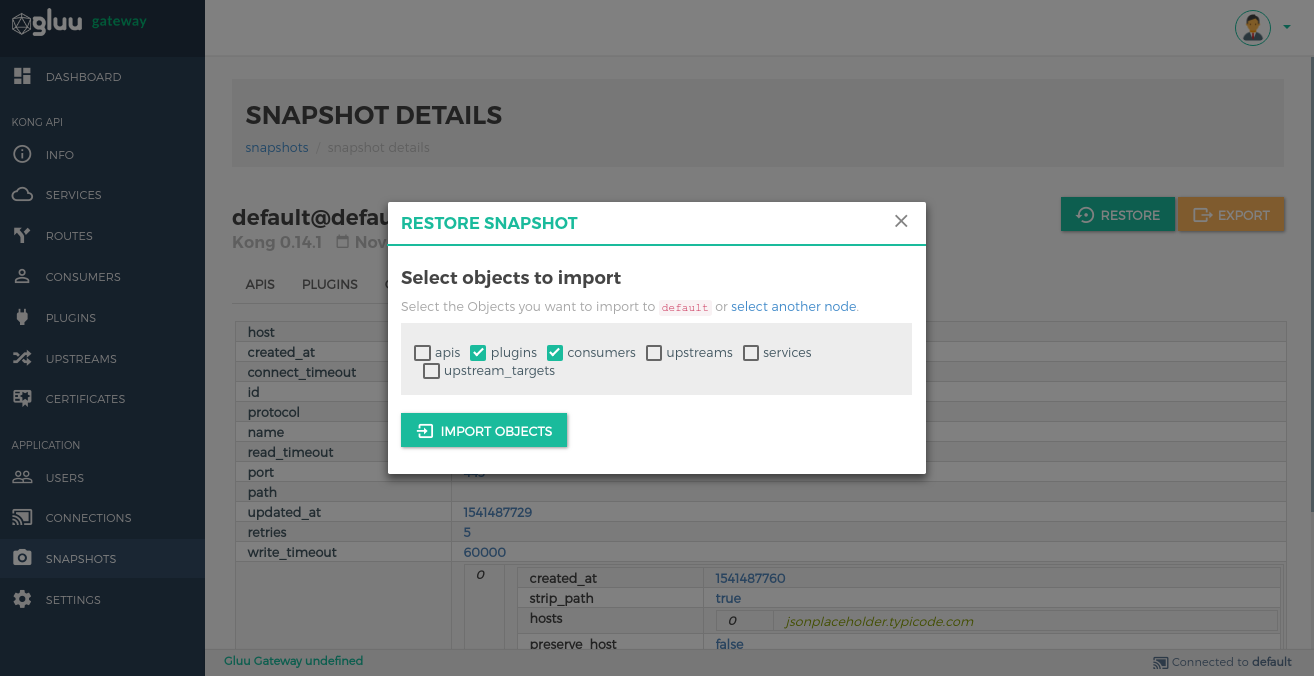
Snapshot Details#
Click on the Details option in snapshot list view to see more information about the snapshot.
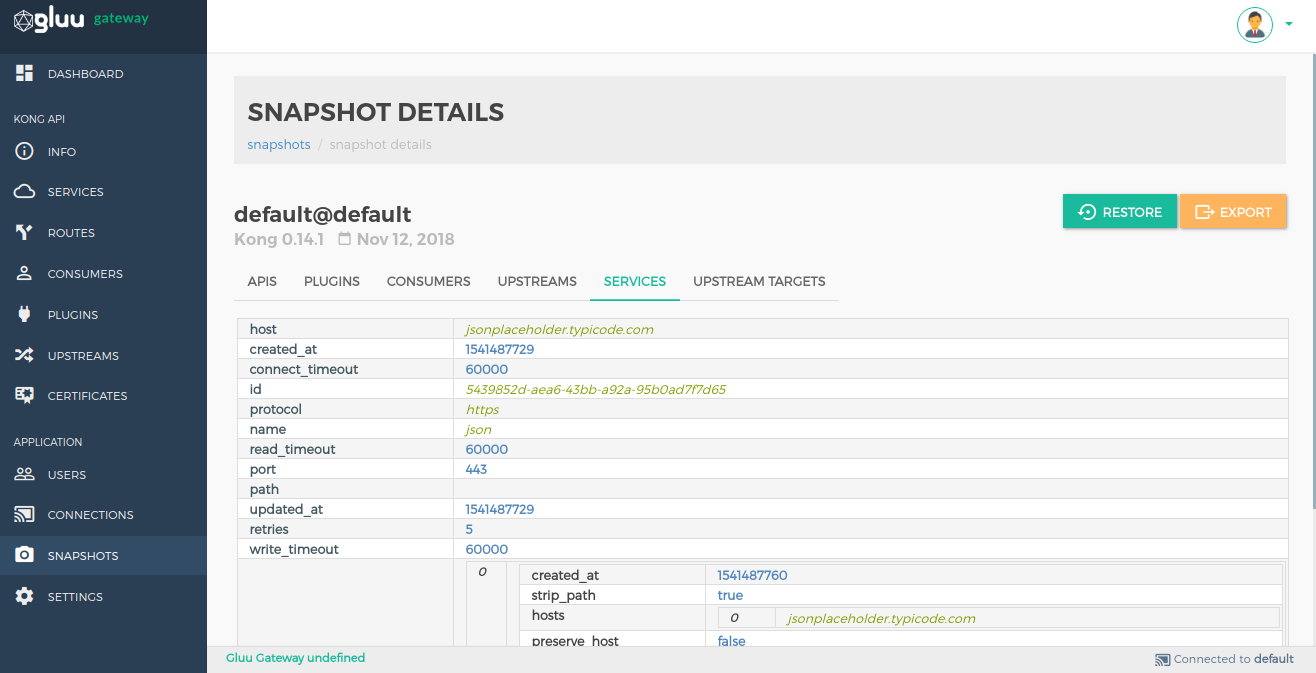
Restore objects by clicking on the RESTORE button.
Export data by clicking on the EXPORT button.
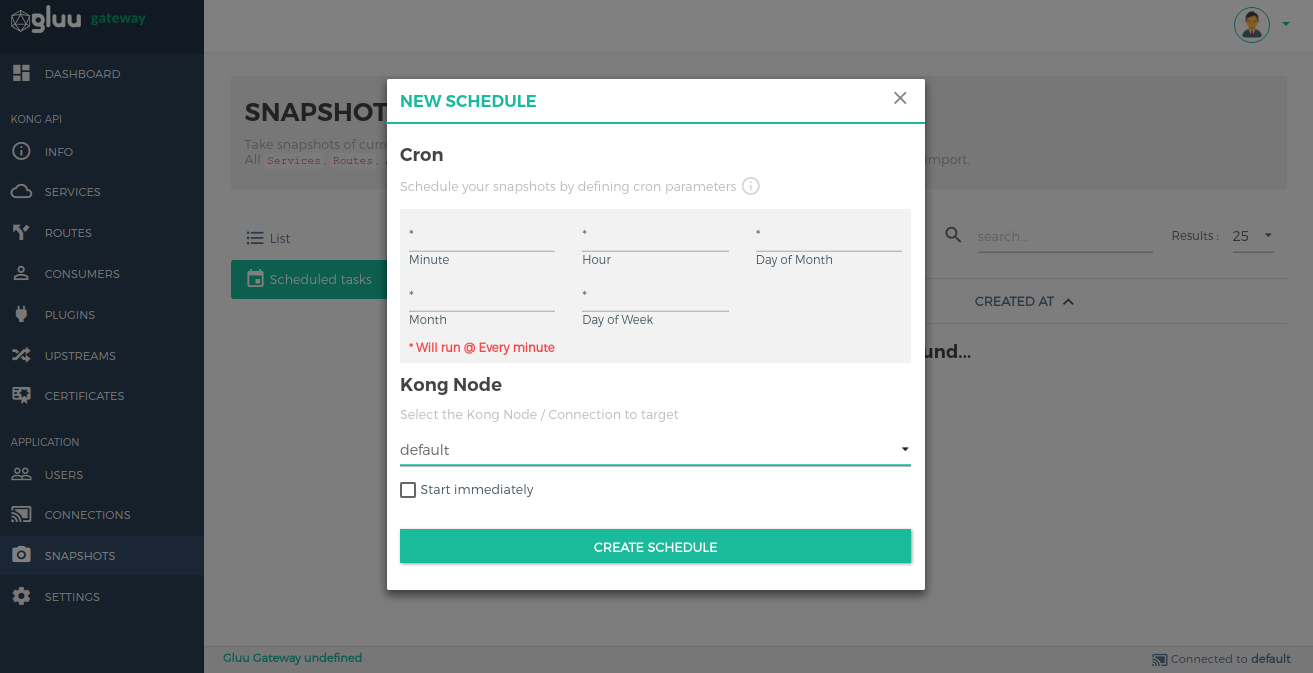
Scheduled tasks#
This is used to schedule a task to periodically take snapshots.
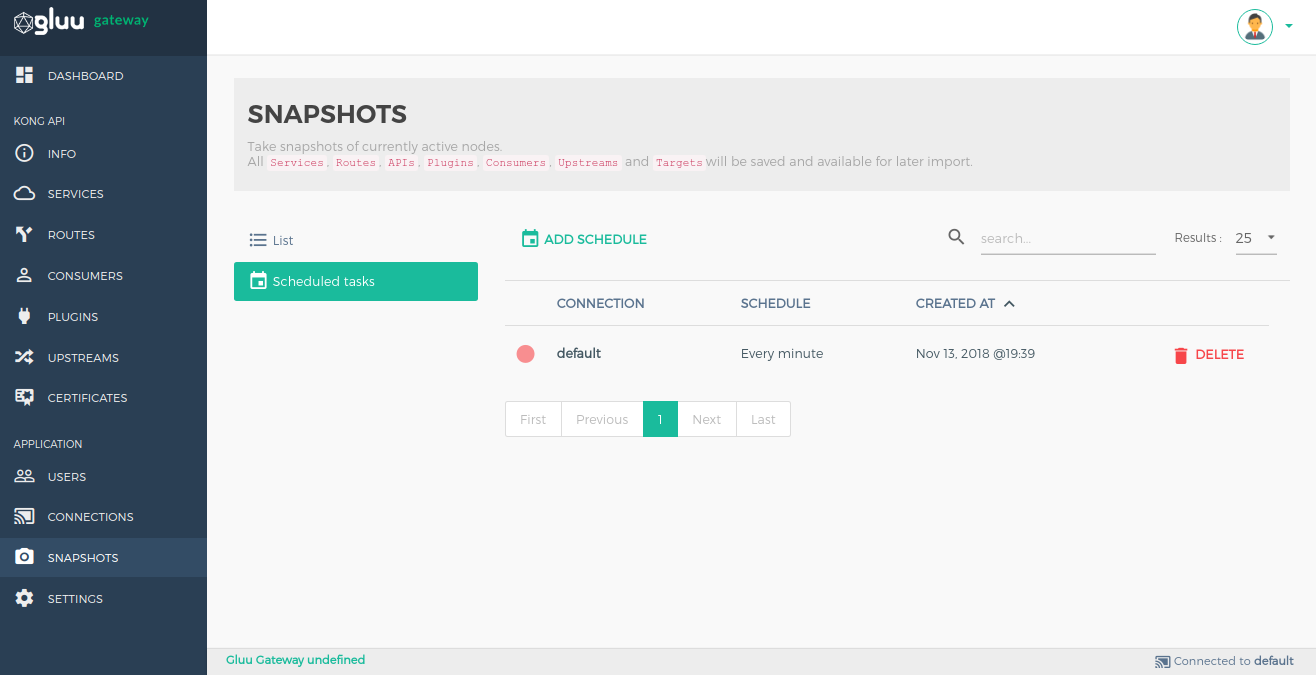
Create a scheduled task using the ADD SCHEDULE button.
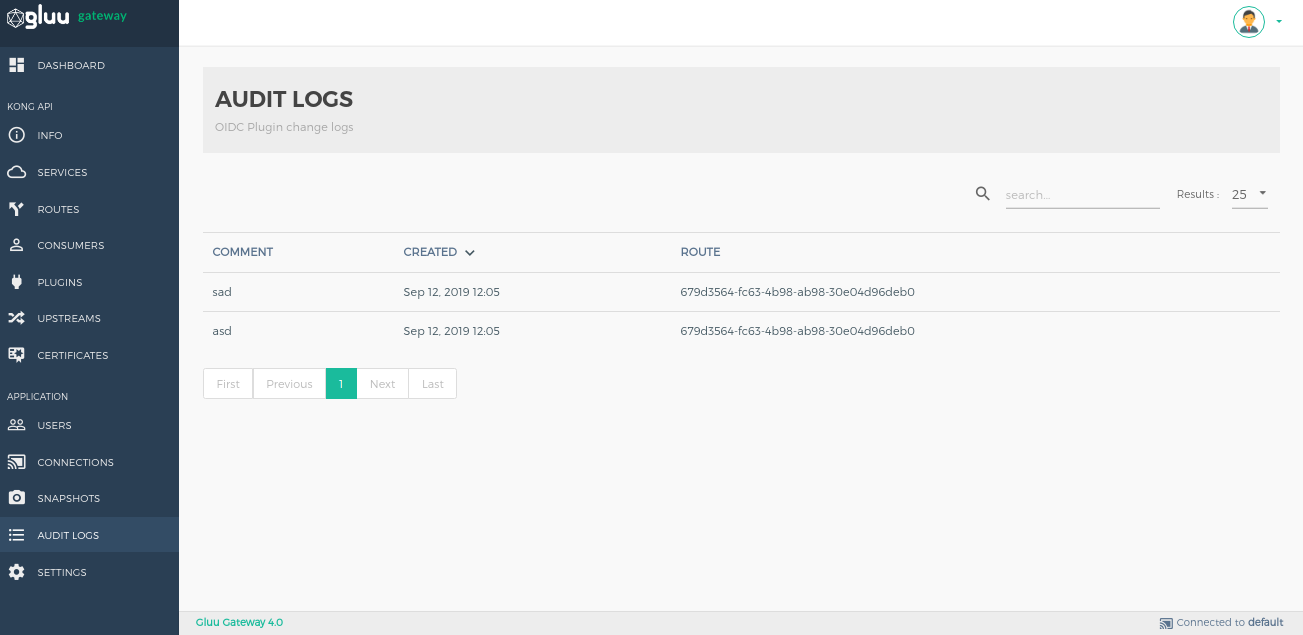
Audit logs#
This section shows logs about the gluu-openid-connect plugin operations(add, edit, delete).
Settings#
Set the dashboard refresh interval, logout session timeout and login restrictions in the settings section.
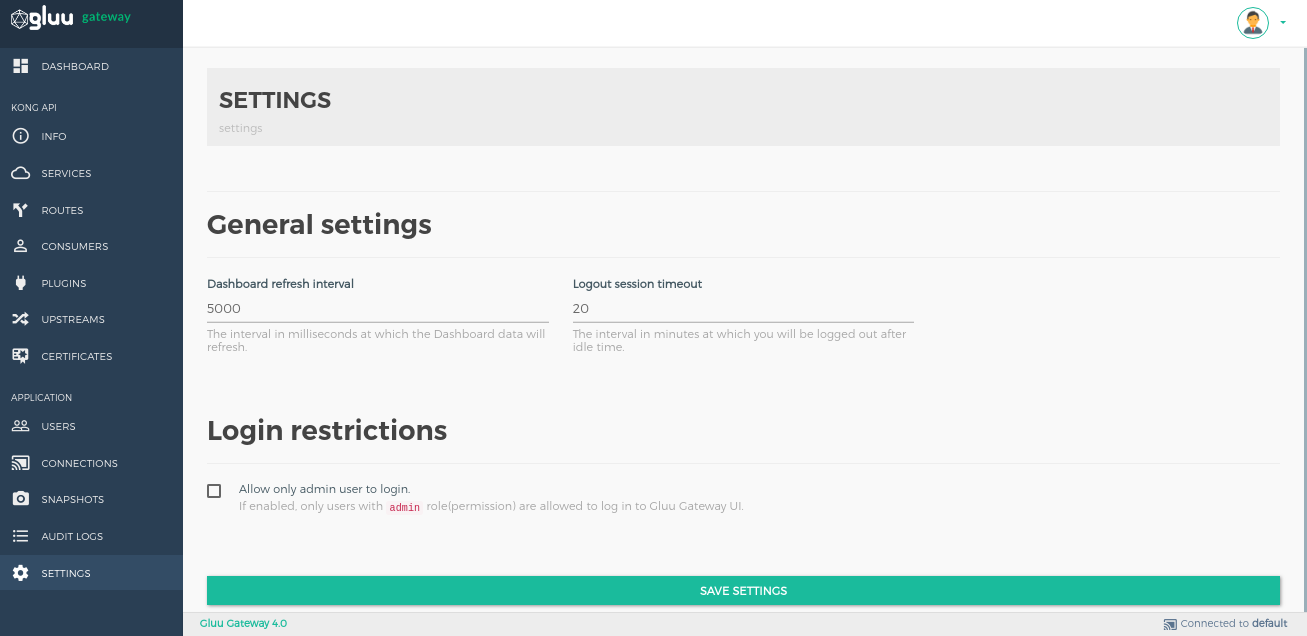
General settings#
| Setting | Description |
|---|---|
| Dashboard refresh interval | The interval in milliseconds at which the Dashboard data will refresh. Default is 5000 milliseconds. |
| Logout session timeout | The interval in minutes a user will be logged out after idle time. Default is 5000 minutes. |
Login restrictions#
| Setting | Description |
|---|---|
| Allow only admin user to login. | If enabled, only OP Users with the admin role(permission) is allowed to log in to Gluu Gateway UI. |
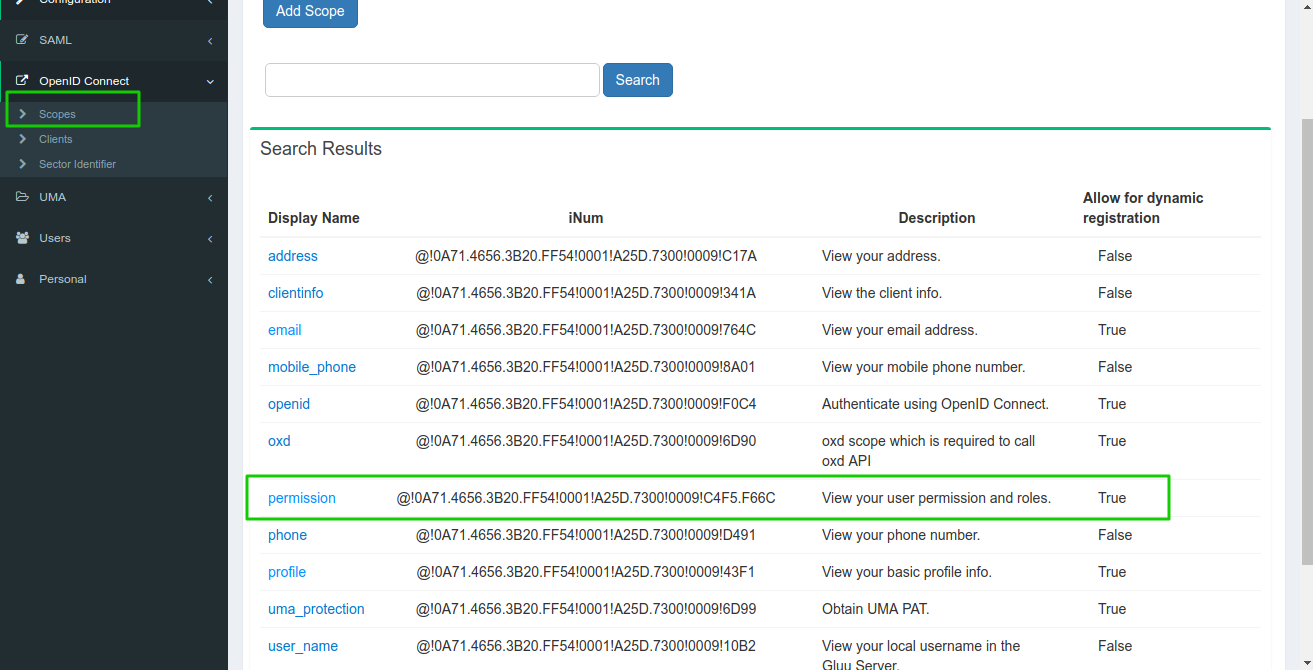
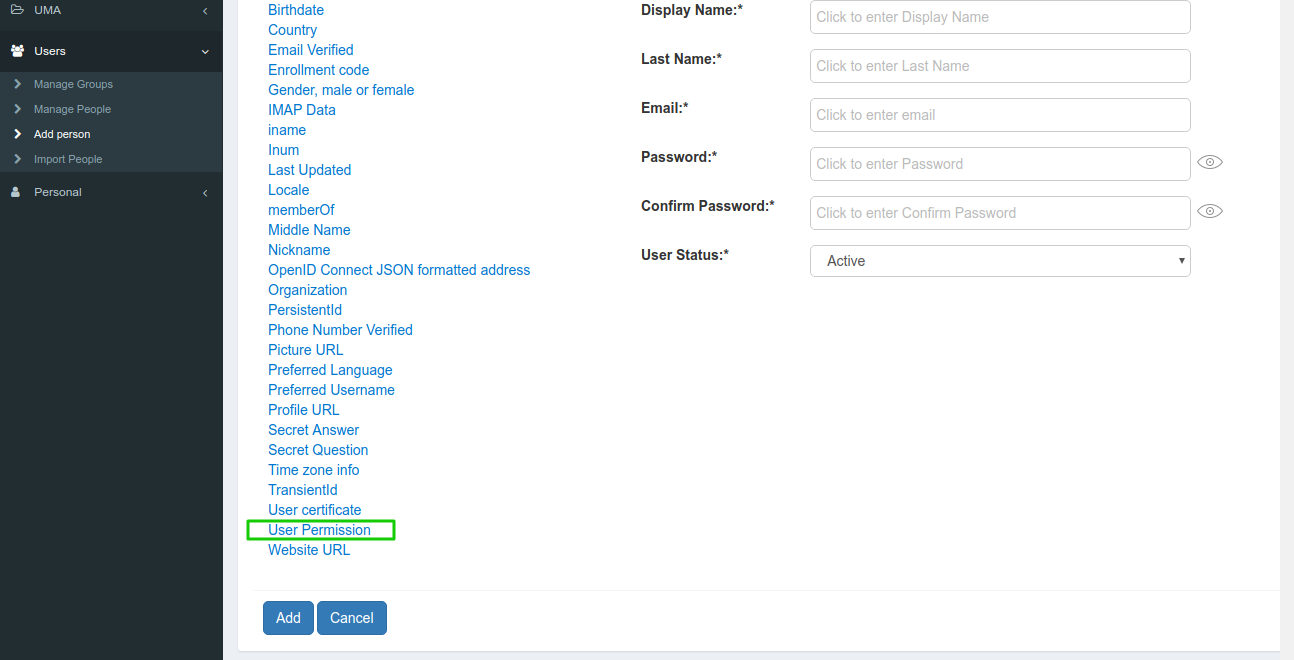
Configure Role for User#
Open the Users section in the Gluu Server and use the User Permission attribute to add a role to the user. Click on User Permission, it will create a text box. Add the admin role and save the user.
Navigate to OpenID Connect > Scopes and allow the permission scope.