Account Linking Plugin#
Overview#
The Account Linking plugin allows users to link and delink their local account in the Gluu Server with an existing account at third-party social providers like GitHub, Facebook, and Google, or any other pre-configured external SAML or OpenID Connect Provider.
Workflows#
Depending on how your authentication service is configured, users can either sign up for your service using an external account, or they can create a local account and link an external account post-registration.
If a user signs up for your service using an external account, and later wants to "de-link" that account, before removing the account Casa will prompt the user to set a local password in your Gluu Server. Alternatively, the user can link another external account and then de-link the original account. More details below.
Requirements#
-
A Gluu Server with Passport.js installed. Install Gluu
-
The plugin jar file that matches the version of your Casa and Gluu Server installation.
-
Passport configured to support your target external authentication providers, e.g. GitHub, Google, etc. Check the Gluu Server docs for instructions (make sure the docs version matches your Gluu version):
Installation#
Once you have configured and tested the integration(s) with the target external providers, install the Accounts Linking plugin by following the steps below:
-
Log in to Casa using an administrator account
-
Visit
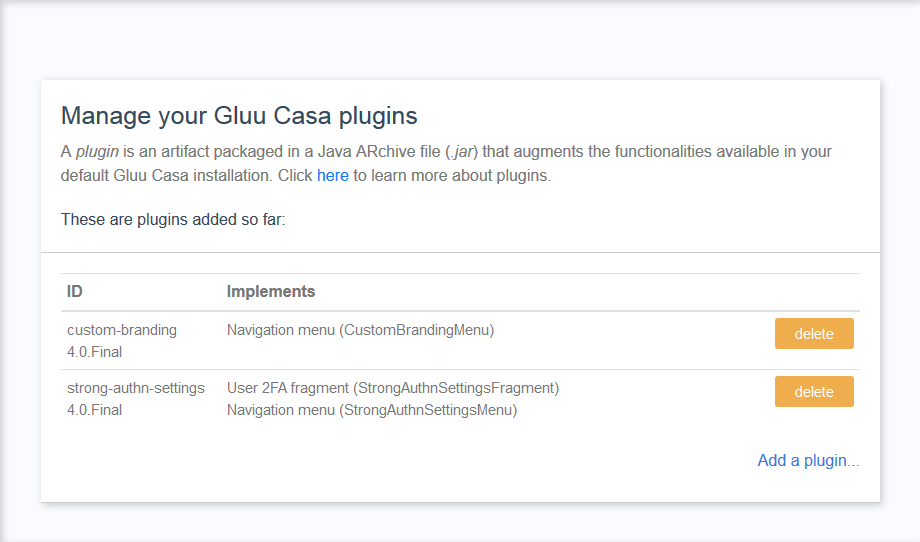
Administration console>Casa plugins
-
Click on
Add a plugin...and select the plugin jar file -
Click on
Add
Now users will see an "Accounts linking" menu item added in their navigation where they can link and unlink their local account with pre-configured external authentication providers.
Social login enrollment#
To support inbound identity for new user enrollment, the following instructions apply.
When a new user signs in to your service for the first time via an external provider, a local account is created in the Gluu Server linked to the provider. The user won't be able to de-link the account they used to sign up until they either:
- Set a local password -- the plugin bundles a form that allows users to perform this action;
- Link an additional external account.
Follow the instructions below to configure your Gluu and Casa instances to support inbound identity for new user registration.
Add custom parameters#
In your Gluu Server, add a custom parameter for authorization requests:
-
In oxTrust go to
Configuration>JSON Configuration>oxAuth Configuration -
Under
authorizationRequestCustomAllowedParameters, add one item. Choose a name for it, such ascustParamCasaPassport -
Press the save button at the bottom of the page
Note
By default every time a user logs in via an external provider, an update takes place in their local account: all attributes released from the external provider are updated in the local LDAP. Attributes not received are flushed. If you don't want the update to take place, also add a custom param with name skipPassportProfileUpdate.
Activate the custom scripts needed#
While configuring Passport earlier, you enabled one or more authentication scripts (ie. passport_social , passport_saml).
In oxTrust, navigate to Configuration > Manage custom scripts and for every script you enabled, add a configuration parameter with name authz_req_param_provider. Set its value to the custom authorization parameter created earlier (e.g. custParamCasaPassport).
Update custom script and login pages#
Since the standard authentication flow will be different, the casa interception script and login page must be updated.
Expand the row corresponding to Casa script, back up the current script contents and then replace with those found here.
Press the update button at the bottom of the page.
The login page must be updated so it dynamically loads the external providers in a way that users can choose a provider to sign in:
- Log in to the chroot
cdto/opt/gluu/jetty/oxauth/custom/pages- Copy the file found here into
pagesfolder.
User guide#
For information on how to use the plugin, see the User Guide