oxd-spring #
In this tutorial we demonstrate how a java spring web application can leverage oxd 4.1 for SSO using the authorization code flow.
Attention
For oxd-4.1 and oxd-spring application running on different servers then it is essential to install and configure SSL certificate by Certificate Authority with oxd. This is required so that oxd-spring application can access oxd-server without throwing any ssl exception. But, if oxd-spring and oxd-server are running on same server then oxd-spring application will work even with oxd configured with self-signed certificate.
Prerequisites#
-
Java 8+
Install Java Standard Edition version 8 or higher.
-
Maven 3+
Download maven and follow the simple installation instructions. Ensure the
bindirectory is added to your PATH. -
Install Gluu Server bundled with oxd.
Run#
-
Ensure that Gluu server and oxd-server are running and accessible.
-
Clone
oxd-springproject from Github to your local diskIf you have
gitinstalled, just open a console and run below command to clone the project.git clone https://github.com/GluuFederation/oxd-spring.gitAfter the project is cloned switch to version_4.1 branch using below command.
git checkout version_4.1 -
In the cloned
oxd-springproject modify${OXD_SPRING_HOME}\src\main\resources\application.propertiesfile to change the below configuration parameters:S.No. Property Name Property Description Example 1 server.port The port of running oxd-springapplication.server.port=8080 2 oxd.server.op-host Provide the URL of your OpenID Provider (OP). oxd.server.op-host=https://www.your-ophost.com 3 oxd.server.host Hostname of oxd-server oxd.server.host=www.your-oxd-server.com 4 oxd.server.port Port of oxd-server oxd.server.port=8443 5 oxd.server.acr-values Comma separated preferred authentication methods. oxd.server.acr- values=basic 6 oxd.server.scopes Comma separated scopes that the client can use. oxd.server.scopes=openid,profile,uma_protection,oxd 7 oxd.server.grant-types Comma separated Grant Types that the client can use. oxd.server.grant-types=authorization_code,client_credentials -
Change directory to
${OXD_SPRING_HOME}and run maven command to build the executable jar:cd oxd-spring mvn clean package -Dmaven.test.skip=trueDepending on connection speed and computer performance, it may take a couple of minutes to download all required dependencies and build the executable jar file.
-
Now you can run the executable jar using below command:
java -jar target/oxd-spring-4.1-SNAPSHOT.jarThe first time you run the application, it tries to register site using the parameters specified in application.properties. If registration was successful, then registration details and
oxdIdare stored in the H2 database (which is embedded in oxd-spring-4.1-SNAPSHOT.jar). Next time you run the application with the same oxd.server.op-host, it will obtainoxdIdfrom database. -
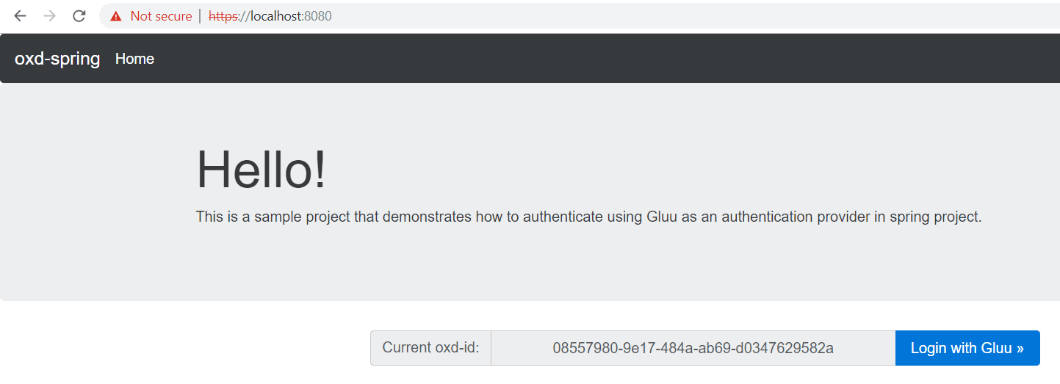
Open a browser and point to https://localhost:8080/. This will display Home Page of oxd-spring application with
Login To Gluubutton. Click on the button to log into application using OAuth 2.0 security.
-
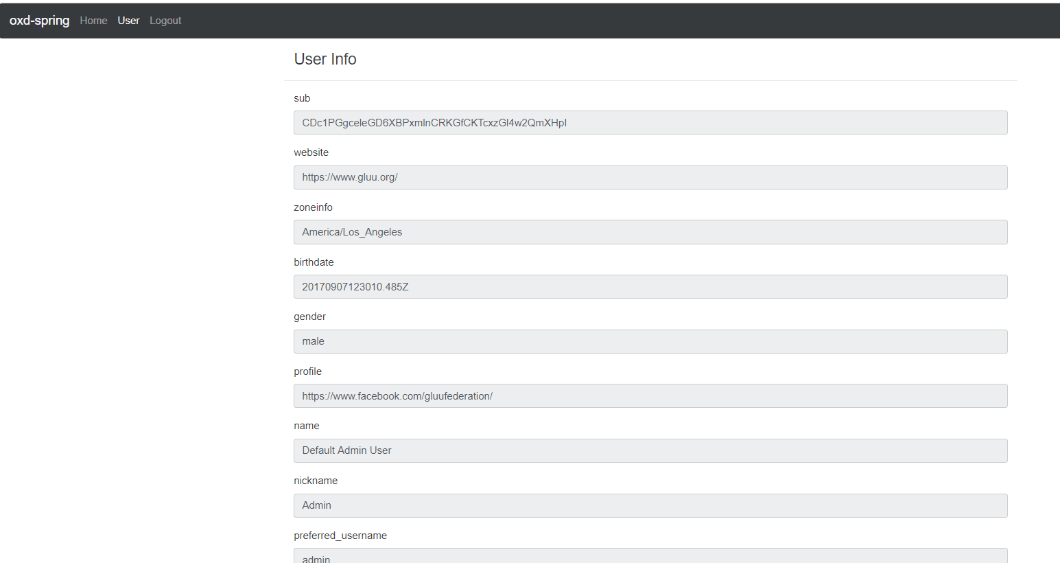
After login the application will display information of the logged in user from OP. To Logout of application and click on
Logoutlink on top menu. This will initiate the logout process and OP will make the browser return to a predefined Post Logout Uri.
Support#
Please report technical issues and suspected bugs on our Support Page.