Single Sign-On (SSO) to Rocket Chat#
Overview#
This doc will guide you on how to setup a Gluu Server as your identity provider (IDP) for access to Rocket Chat. By using a Gluu Server as your IDP, you can bypass the process of storing passwords in Rocket Chat.
Requirements#
- An operational Gluu Server installation
- An operational Rocket.Chat installation
- A user with administrative privileges in each application
Note#
When adding the Gluu Server OAuth client to Rocket Chat (described below), the server title is converted to lowercase, and hyphens, spaces, etc. are removed. So for example, Gluu Server or Gluu-Server will be converted to gluuserver. And then at the top of the page, the following message is generated:
When setting up your OAuth Provider, you'll have to inform a Callback URL. Use
https://{your_rocketchat_url_accessible_from_gluu_server}/_oauth/gluuserver
During creation of your client in the Gluu Server, this URL is used as the Redirect Login URI.
Gluu Server Configuration#
In oxTrust, navigate to OpenID Connect > Client and click Add Client. You'll see the following form to create the client for Rocket Chat:
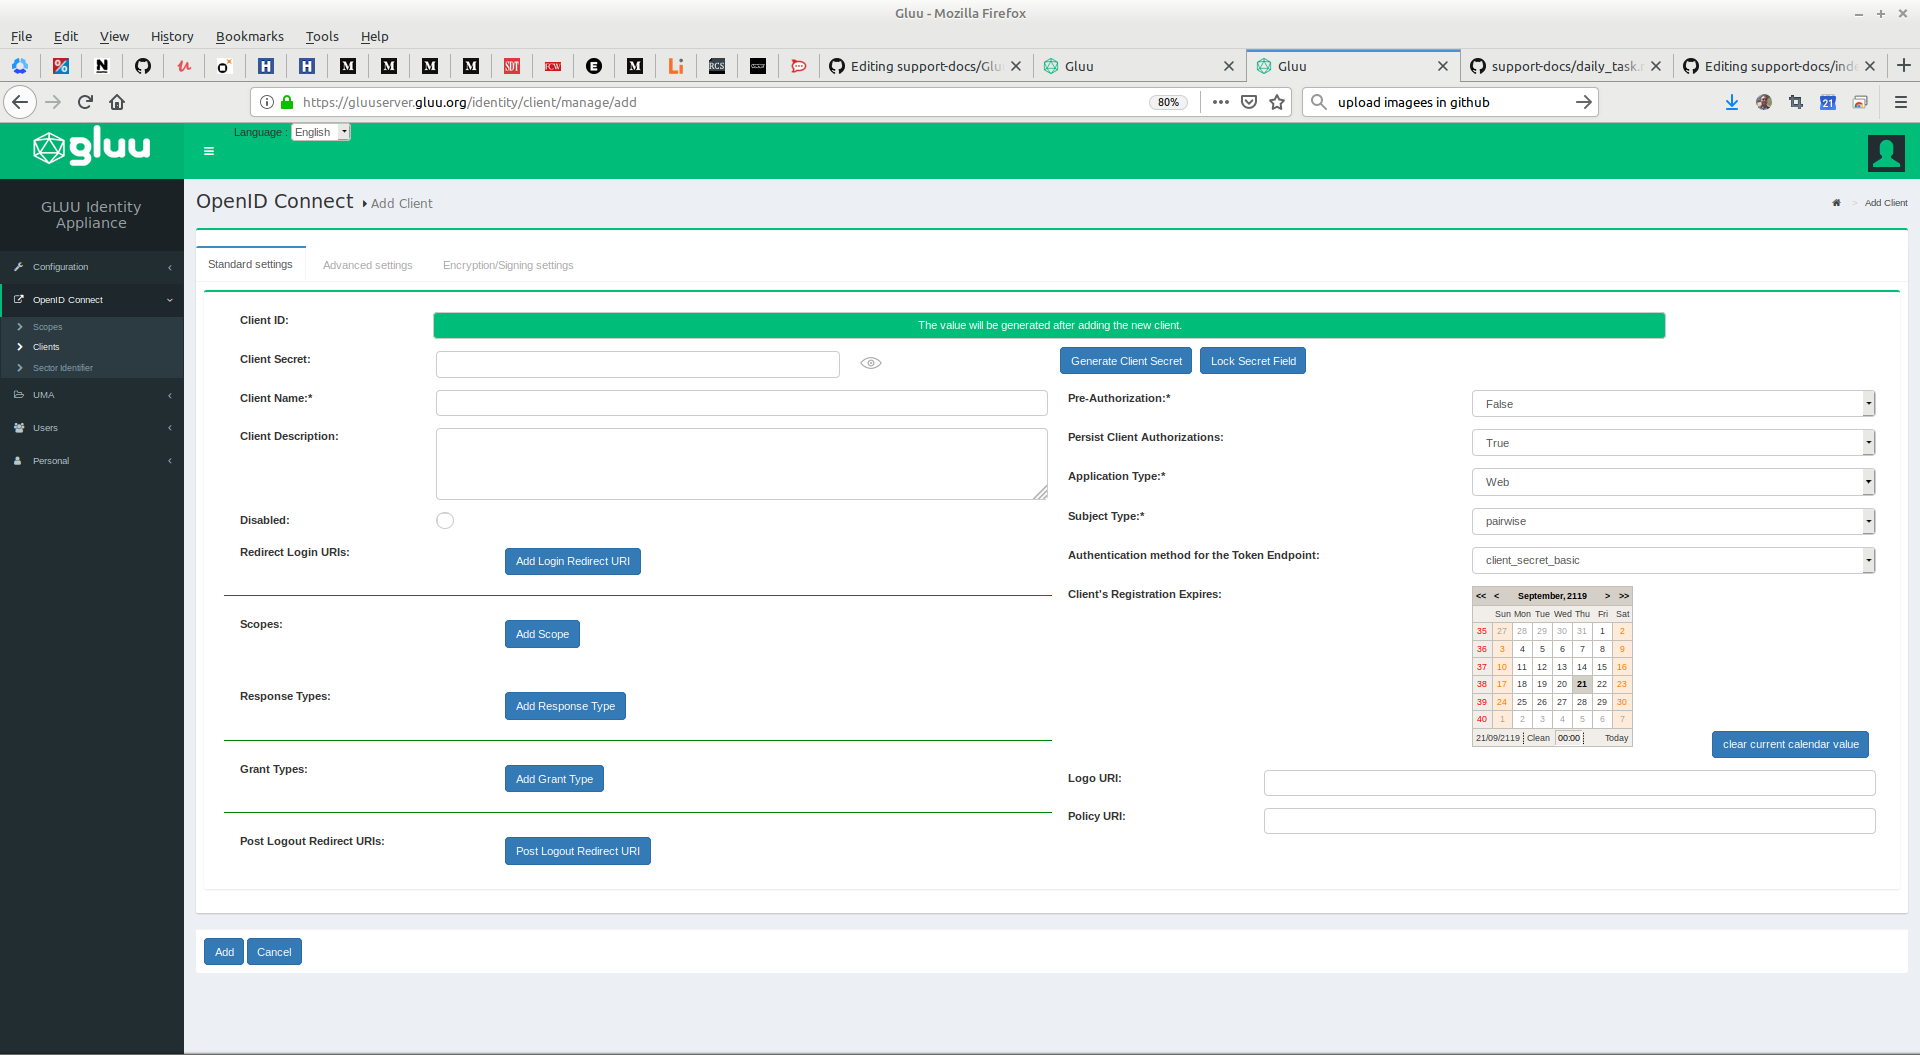
- The
Client IDis generated automatically. - Keep sufficiently strong
Client Secret. - Add optional
Client Description. - Add
Redirect Login URIs(use the Callback URL from Rocket Chat as noted above) - Add at least the following scopes
Scopes: email, openid, profile and user_name. - Add the following
Response Types: code, token, id_token. - Add the following
Grant Types: authorization_code. - Set
Pre-Authorizationto Yes - Set
Application Typeto Web. - Set
Authentication method for the Token Endpointto client_secret_post.
After completing these fields, click the Add button.
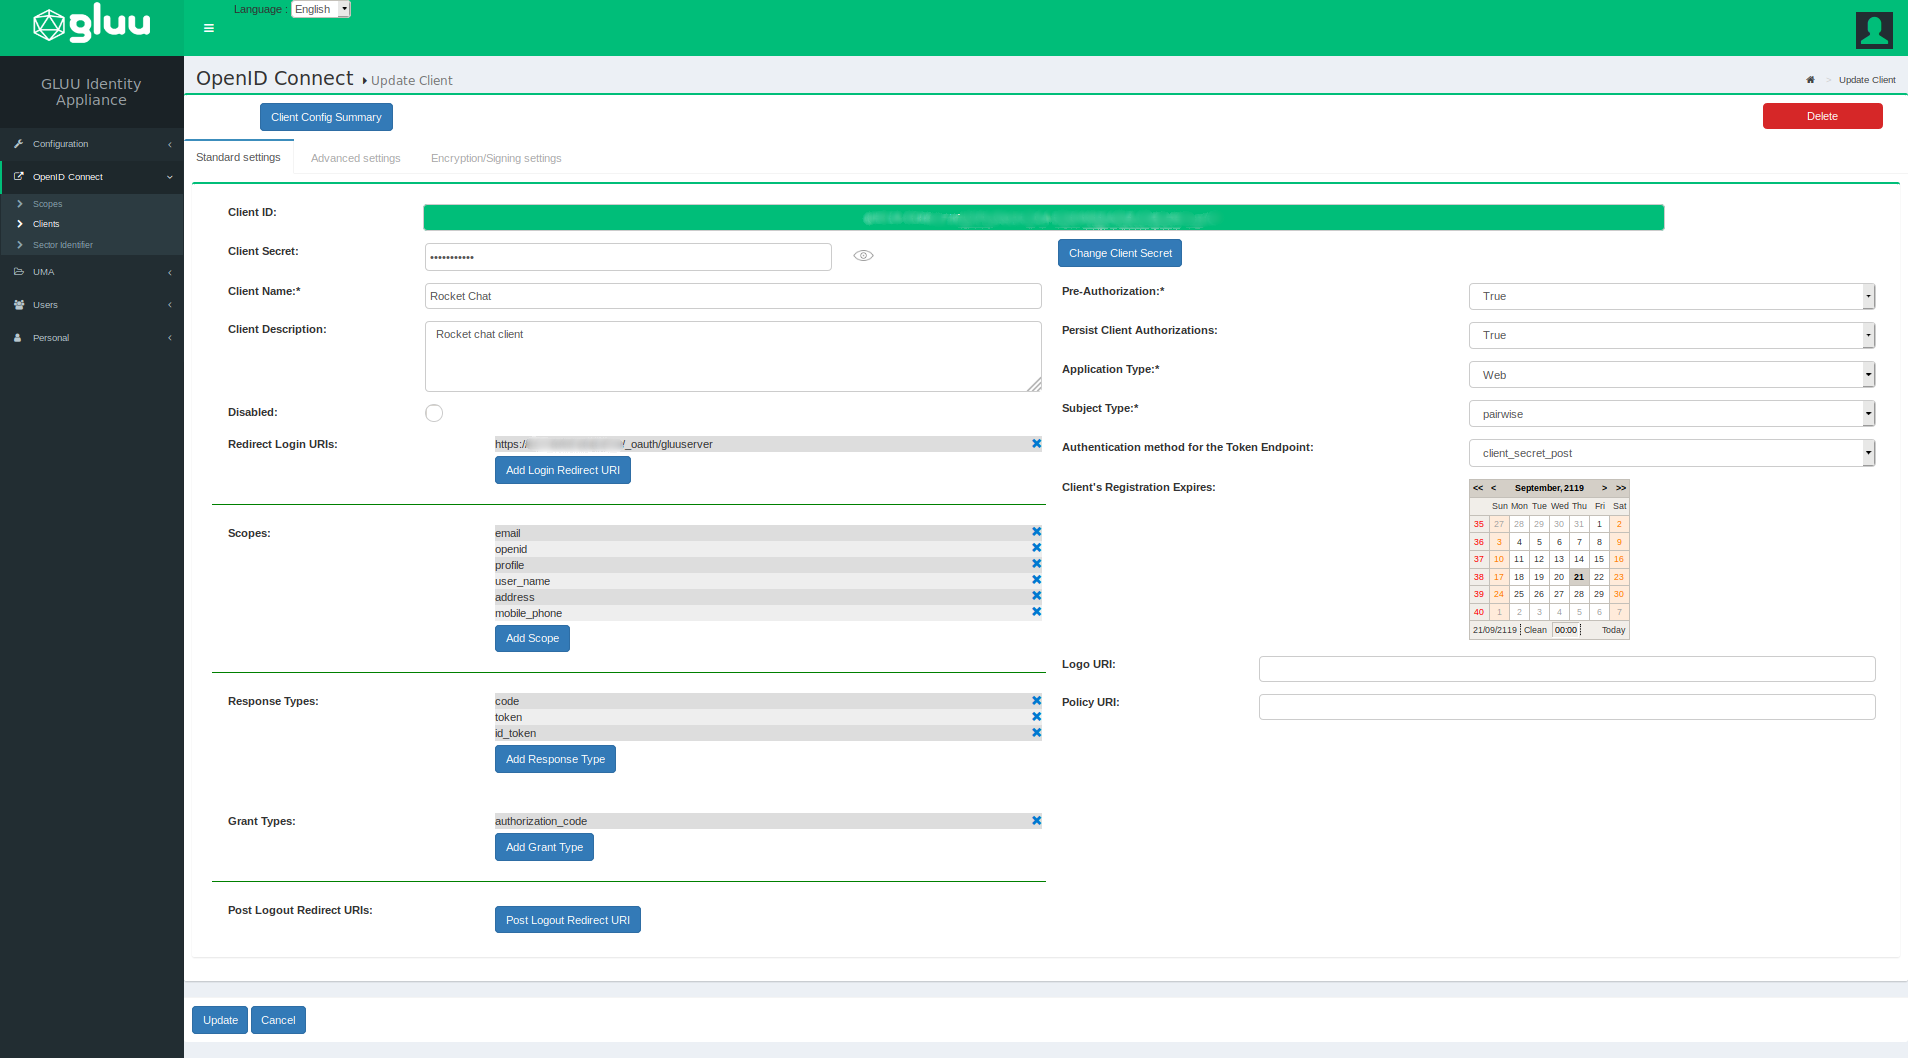
The configured client should look similar to this:
Configuring Rocket Chat#
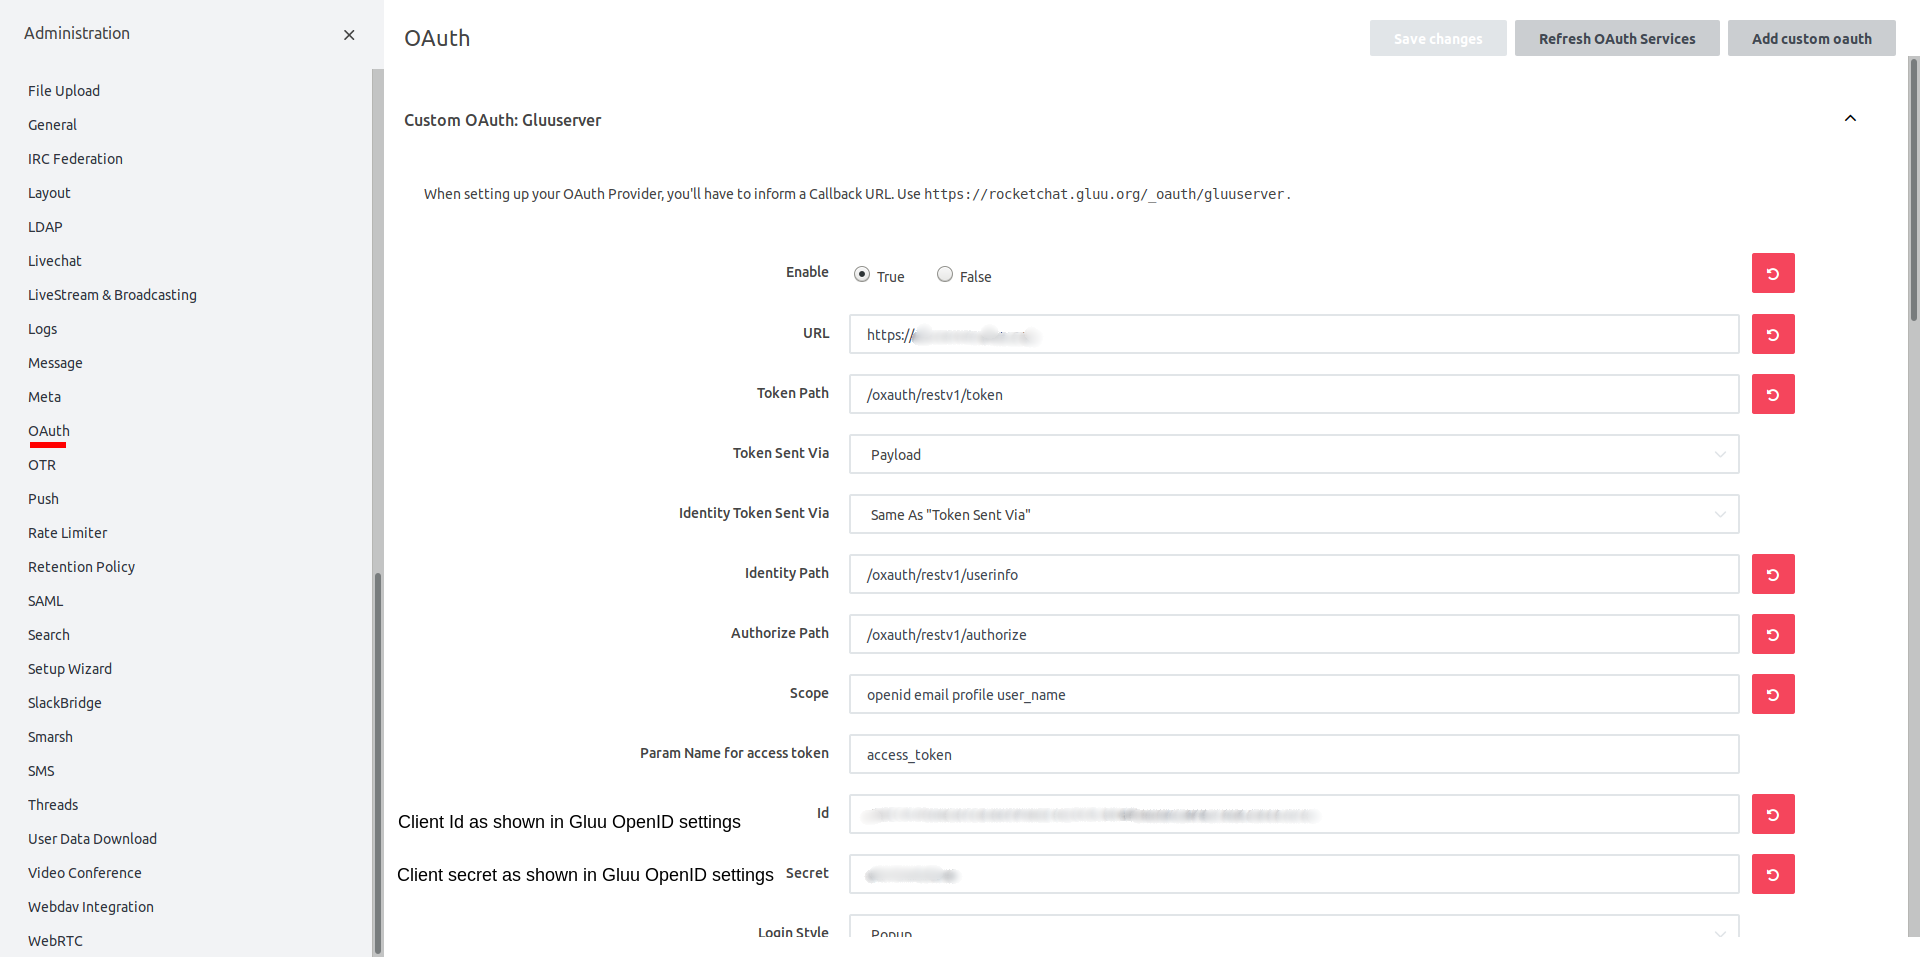
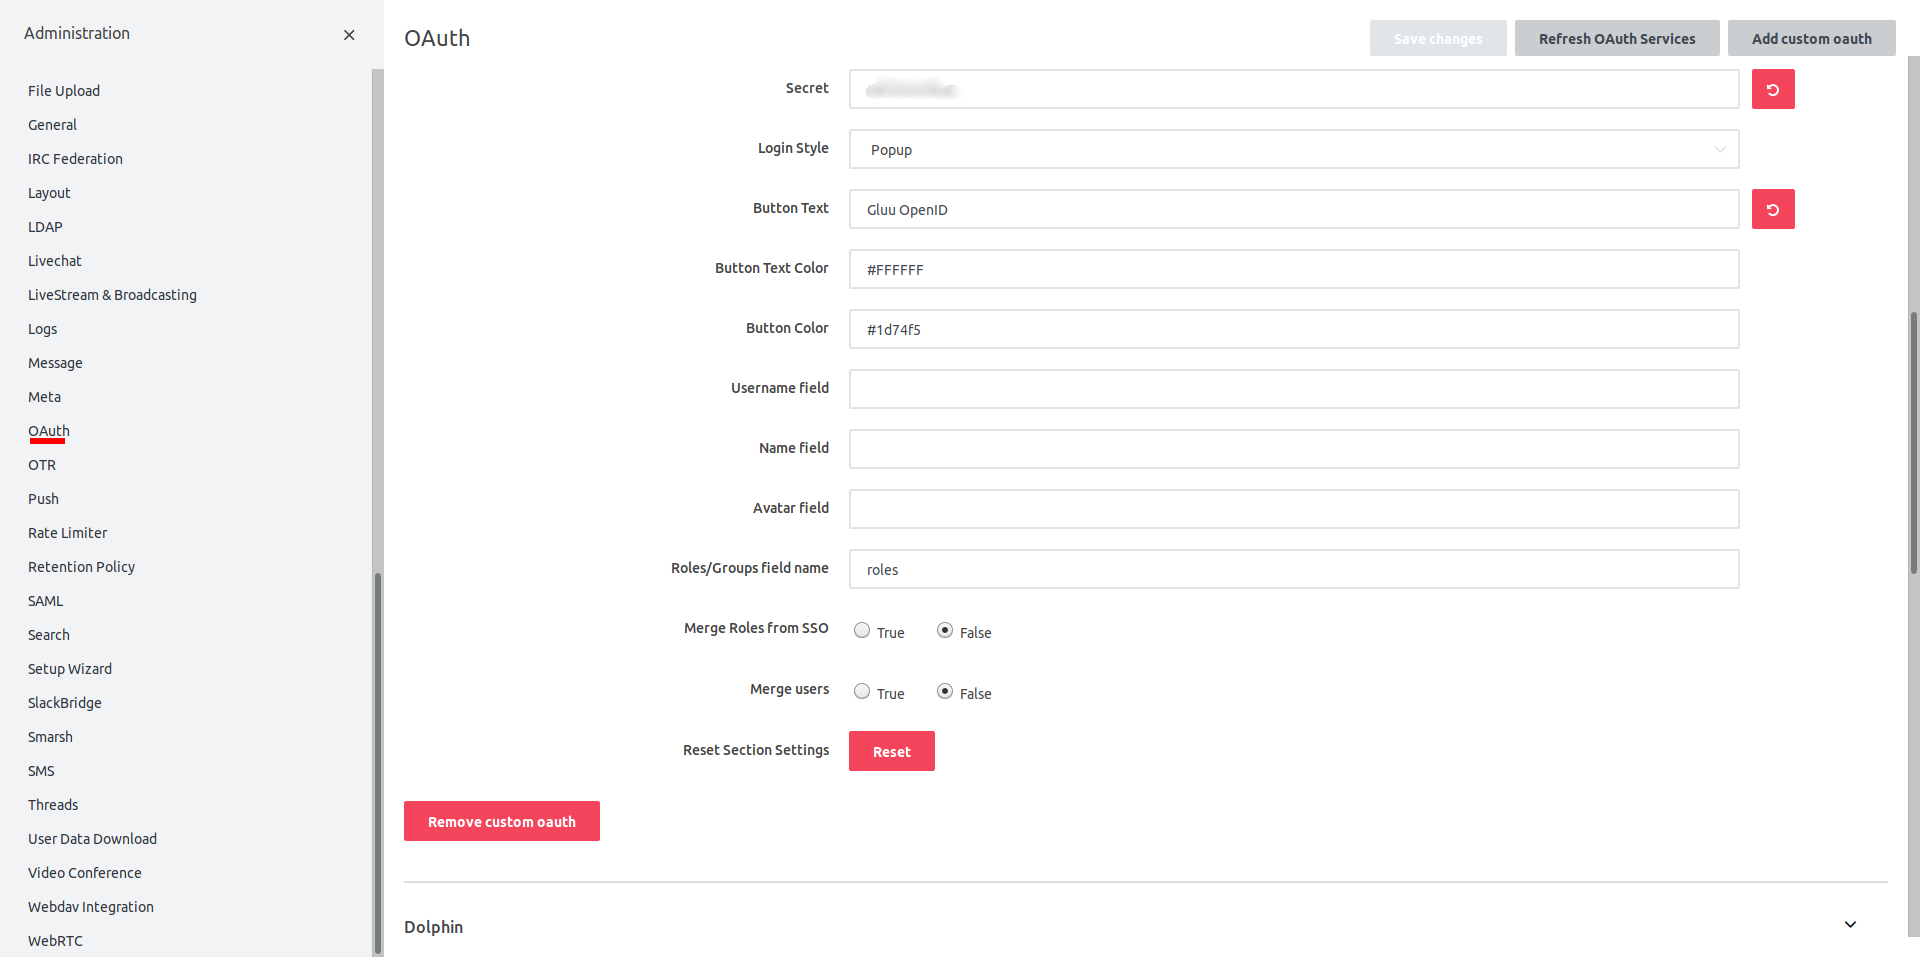
In rocketchat Administration area, find the page for OAuth and click Add custom oauth.
Add a name for your server, we called ours: Gluu Server.
- Set
Enableto True. - Add the
URLof your Gluu Server. - Add
Token Pathas /oxauth/restv1/token. - Add
Identity Pathas /oxauth/restv1/userinfo. - Add
Authorize Pathas /oxauth/restv1/authorize. - Add
Scopeas openid email profile user_name - Add
Idfrom the client created in your Gluu Server. - Add
Secretfrom the client created in your Gluu Server. - We chose
Button Textas Gluu OpenID. Login Stylesis a matter of choice.
Once you set all the parameters and save the changes, the screenshots look like below two screenshots.
Testing#
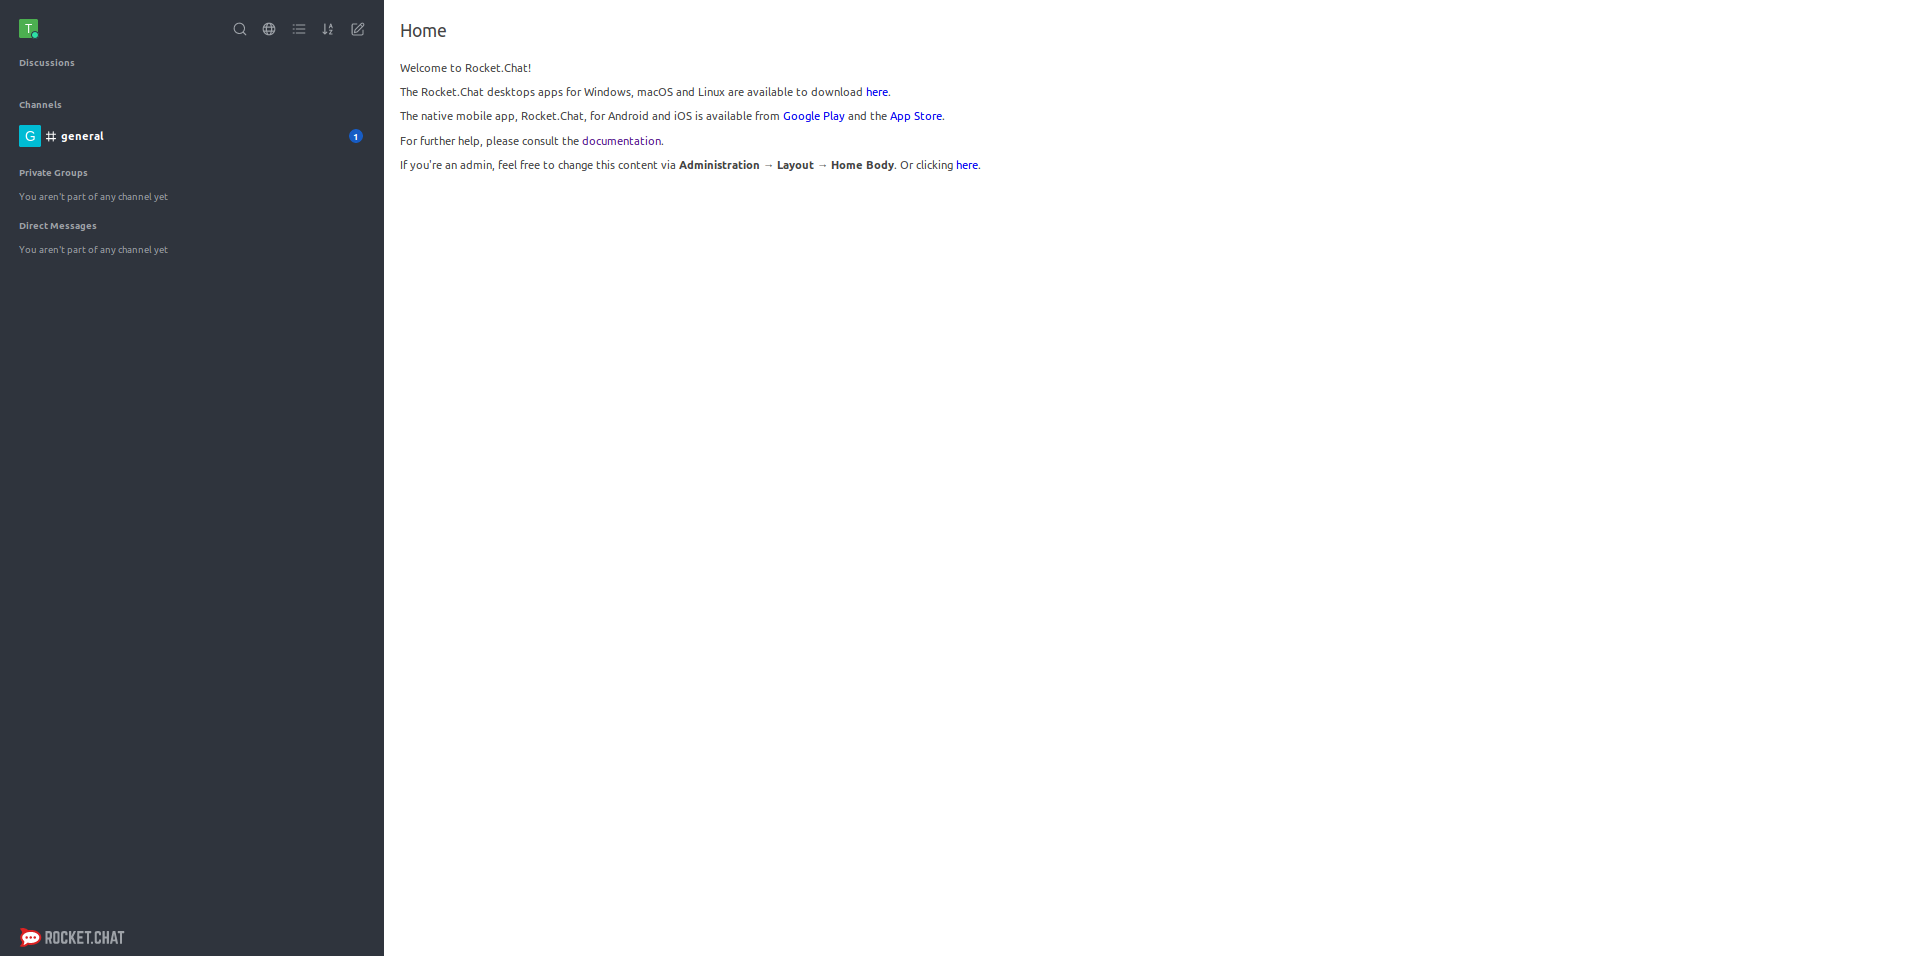
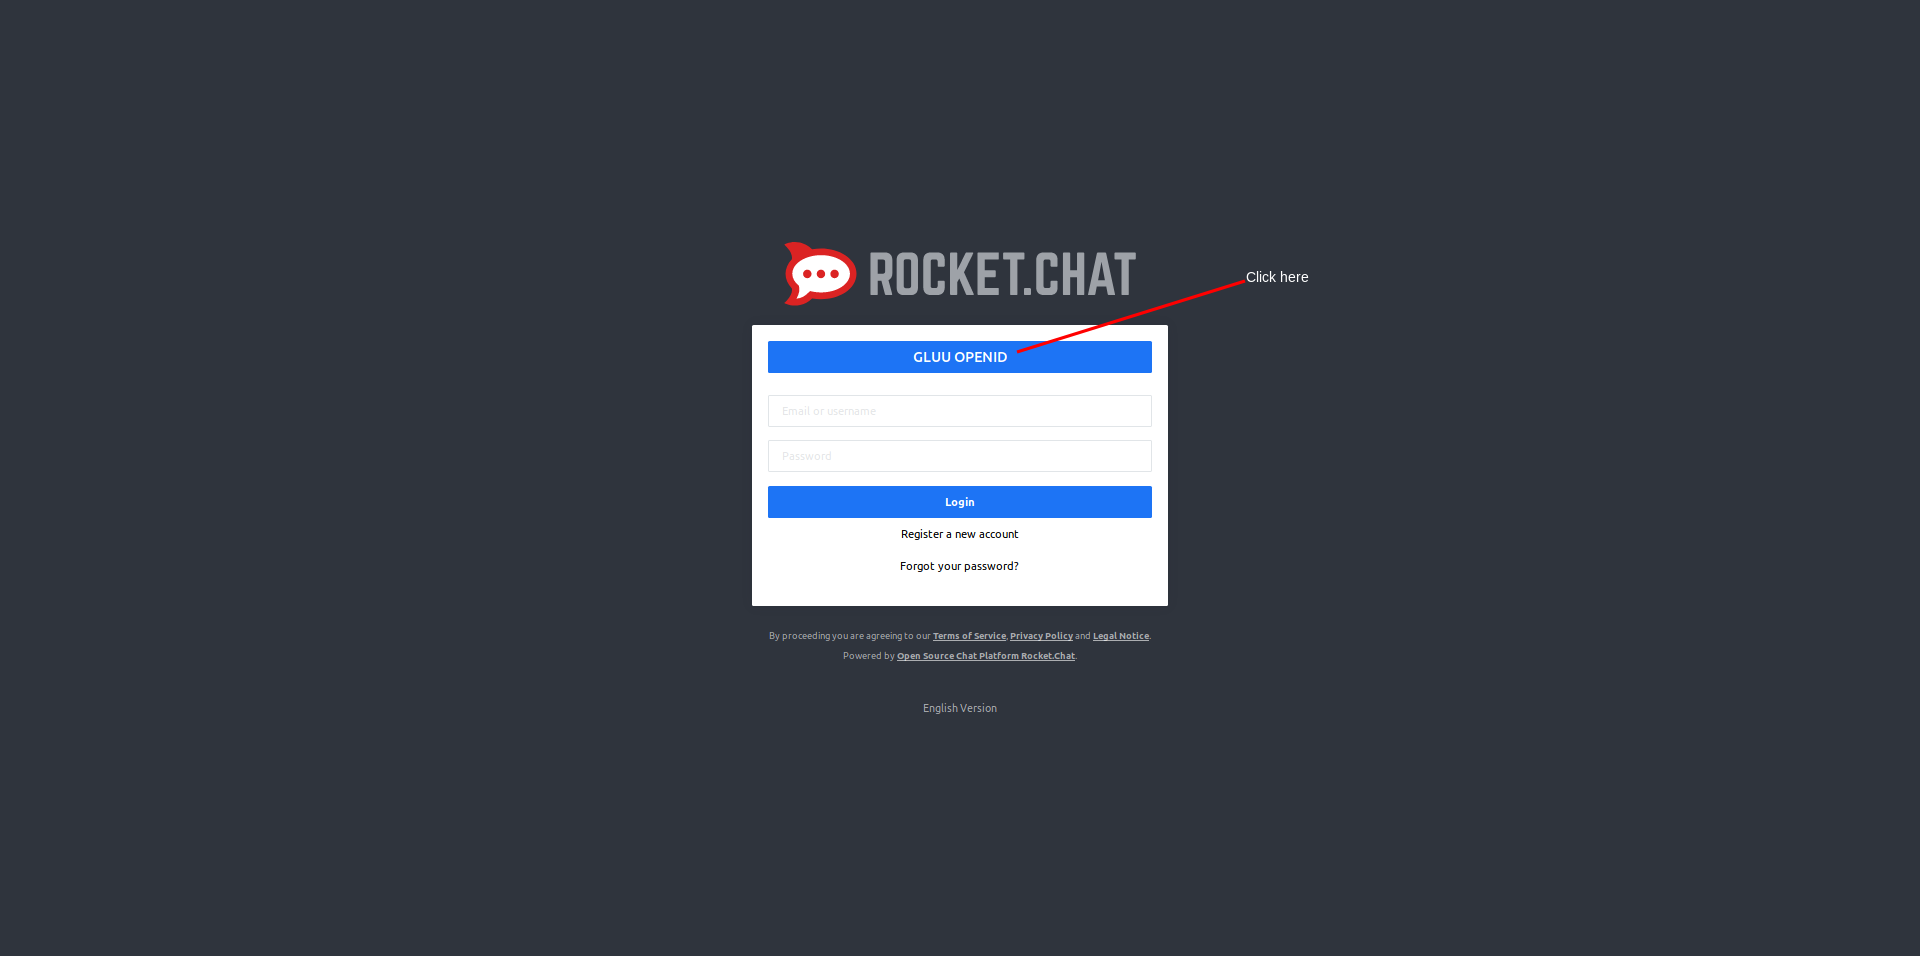
Access your Rocket Chat server and you should see two options to login: username and password and the custom text you just added, e.g Gluu OpenID.
This is shown as below:
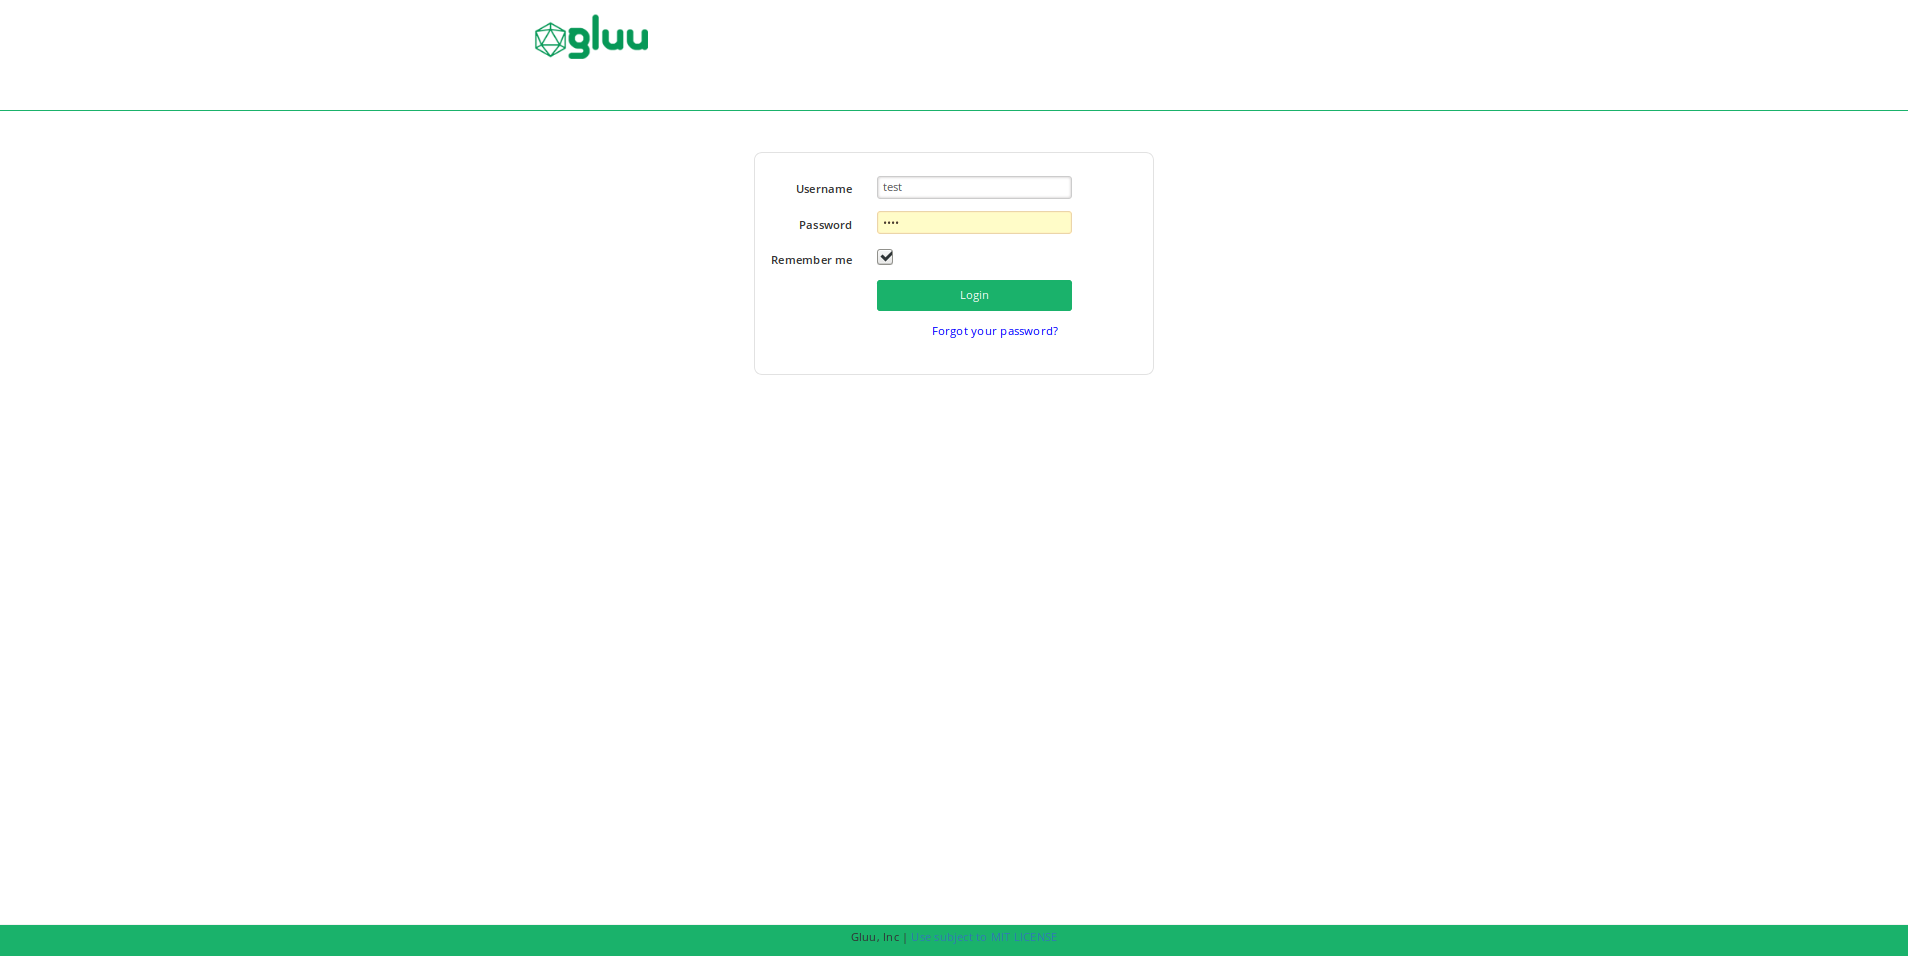
After we click the link, e.g. Gluu OpenID, we're redirected to the Gluu Server for login. We had created a test user, so we added the username and password as shown below:
Once authentication is complete, we're redirected back to Rocket Chat where we're asked to create a new username. It's purely a matter of personal choice. We chose to keep it the same, i.e test.
See the screen below asking us to provide the username:
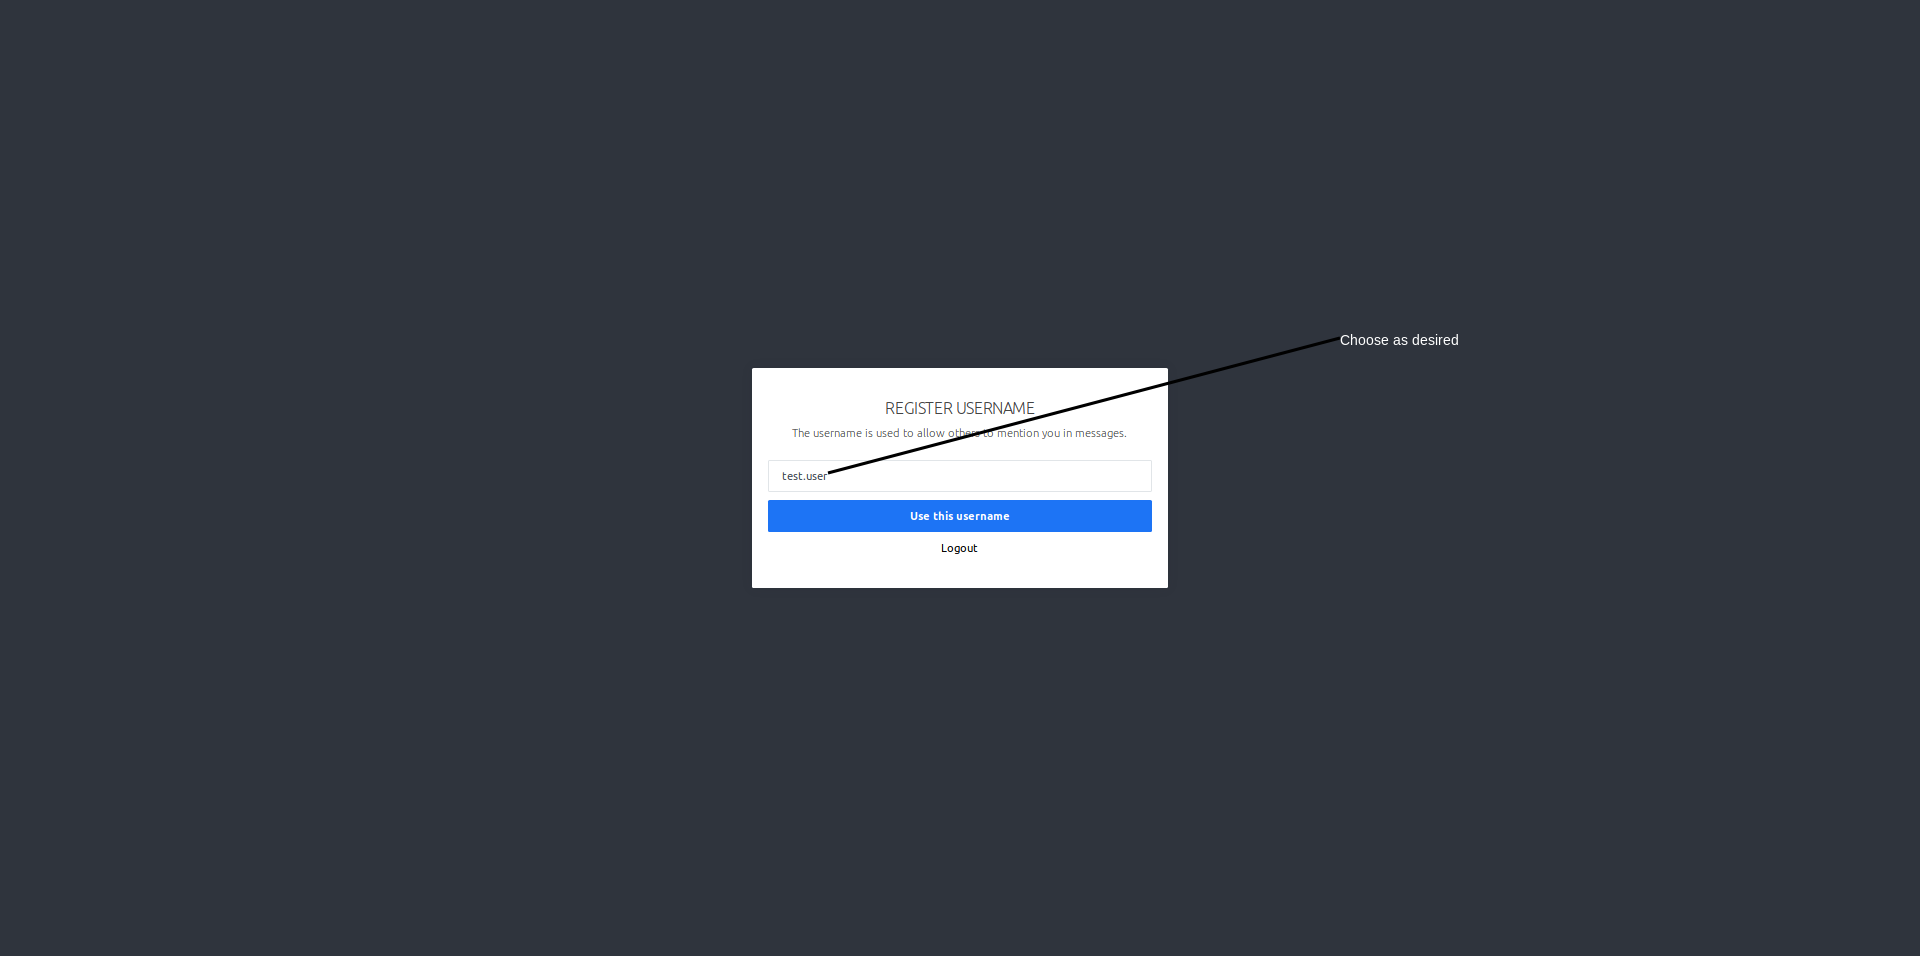
Once done, we're granted access to Rocket Chat.