Integrating browser certificate authentication with Casa#
Overview#
The browser certificate plugin allows users to enroll X.509 digital certificates and use them as a form of second factor authentication.
Warning
In containers-based environments there may be difficulties making front http servers work with SSL client certificates. Open a support ticket if necessary.
Script configurations#
A special custom script is key for this plugin. It serves as mechanism to incorporate the browser certificate prompt into Casa authentication flow and also to hold parameters for the plugin itself.
Note
If for some reason you are already using the cert script, please back up its contents now.
Log into oxTrust, and go to Configuration > Manage Custom scripts > cert. Script contents and config must be tailored for Casa:
Script contents#
Download this file and copy its contents in the Script form field.
Certificate authority (CA) cert#
The property chain_cert_file_path should point to a file in PEM format with the chain of CA certificates. The testing sections offers an example of how to generate a simple CA cert.
Validators#
When web browsers prompt users to choose a certificate, a number of validations take place on the certificate selected. Admins can parameterize the validations desired. For this purpose, set a value of true for the property you are interested in:
| Property | Validator | Description |
|---|---|---|
| use_generic_validator | Period validator | Checks if the cert would be valid at the given time of usage using cert's notAfter/notBefore |
| use_path_validator | Chain validator | Verifies the cert using the certification chain |
| use_crl_validator | Certificate revocation list validator (CRL) | Uses CRL for verification |
| use_ocsp_validator | Online Certificate Status Protocol (OCSP) validator | Uses OCSP responder servers to check cert validity |
Warning
Validations are still a work in progress. If you find issues, please open a support ticket.
Other properties#
Certificate revocation list validation imposes certain overhead so it is necessary to cap the maximum size of data to be downloaded. This can be controlled using crl_max_response_size property. If not supplied, default value is 5MB.
Both credentials_file and map_user_cert properties are not in use, you can leave them as is, or entirely remove them.
Save changes#
Click on Enable under the script contents box, and press Update at the bottom of the page.
Apache configuration#
Locate Gluu's Apache configuration file https_gluu.conf in chroot and find the SSLVerifyClient directive. Duplicate the whole LocationMatch directive changing the first line this way:
<LocationMatch /casa/pl/cert-authn/index.zul>
Save the file and restart Apache.
Plugin installation#
Add the plugin to Casa#
-
Log in to Casa using an administrator account
-
Visit
Administration console>Casa plugins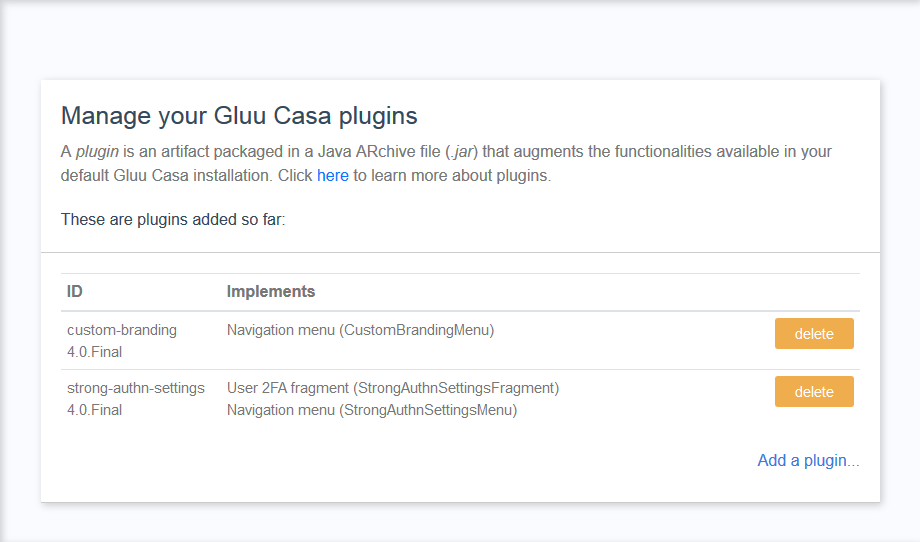
-
Click on
Add a plugin...and select the plugin jar file -
Click on
Add
Alternatively you can log into chroot and copy the jar file directly to /opt/gluu/jetty/casa/plugins.
Enable the authentication method#
Wait for one minute, then visit Administration Console > Enabled authentication methods and tick User certificate. On the right, the plugin will be selected by default. Finally save the changes.
Testing#
So far, users that log into Casa should be able to see a new "User certificates" menu item. From there they can "link" their certificates. It is important to note that actual certificates have to be imported directly into the browser beforehand. There are hints in the UI in this regard. The analog applies for "delinking".
Once a certificate is added, and if 2FA is turned on for the user, the browser will prompt to select a certificate after the usual username and password combination is supplied. In this sense, the certificate will just act as a second factor.
Note that only certificates already added via Casa can be used for authentication. Any other imported certificates selected in the browser will fail for authentication regardless of their validity.
In the following we describe simple steps to quickly test the plugin and the authentication flow:
Generating CA certs#
Admins can sign client certificates with a self-signed cert, for instance you can do:
openssl req -newkey rsa:4096 -keyform PEM -keyout ca.key -x509 -days 365 -outform PEM -out ca.cer
And then copy ca.cer to a location that you should specify in chain_cert_file_path property of the script.
Generate a client SSL certificate#
Generate a private key:
openssl genrsa -out client.key 4096
Generate a certificate signing request (CSR):
openssl req -new -key client.key -out client.req
Sign CSR with the CA key and cert:
openssl x509 -req -in client.req -CA ca.cer -CAkey ca.key -set_serial 01 -days 365 -outform PEM -out client.cer
Bundle the private key and client certificate in a single PKCS#12 format certificate:
openssl pkcs12 -export -clcerts -inkey client.key -in client.cer -out client.p12
The resulting p12 file will have to be imported into the browser. Instructions for this vary.
Enroll the certificate in Casa#
In Casa, Go to User certificates or in the home page scroll down to find the corresponding widget and click on Add/remove certificates.
Account for the hints given and press the Proceed button. Your browser will prompt you to select a certificate from the personal certificates imported so far. For convenience, uncheck the option related to remembering this choice and continue.
You will be taken to a page presenting the result of the operation. For a success outcome, the certificate had to be parsed correctly and passed all validations configured.
Press the button to return to the page listing the enrolled certificates. You will see a summary of the certificate just added including the expiration date. There is an option to remove the certificate as well.
Use the certificate as a second factor#
Ensure you have added another credential, hopefully of a different kind, for example a mobile phone number or an OTP token. Then visit the home page and click the toggle to turn 2FA on and logout.
Try to access the application once more and supply the username and password for the account recently used to enroll the certificate. Depending on the numeric level assigned to the cert script, you will be prompted for a different factor, for instance, to enter an OTP code. If so, click on Try an alternative way to sign in and click on User certificate.
The browser will show again the dialog window to pick a certificate. Choose the certificate already enrolled and continue. For convenience, uncheck the option related to remembering this choice.
Finally you will be redirected and get access to the application.